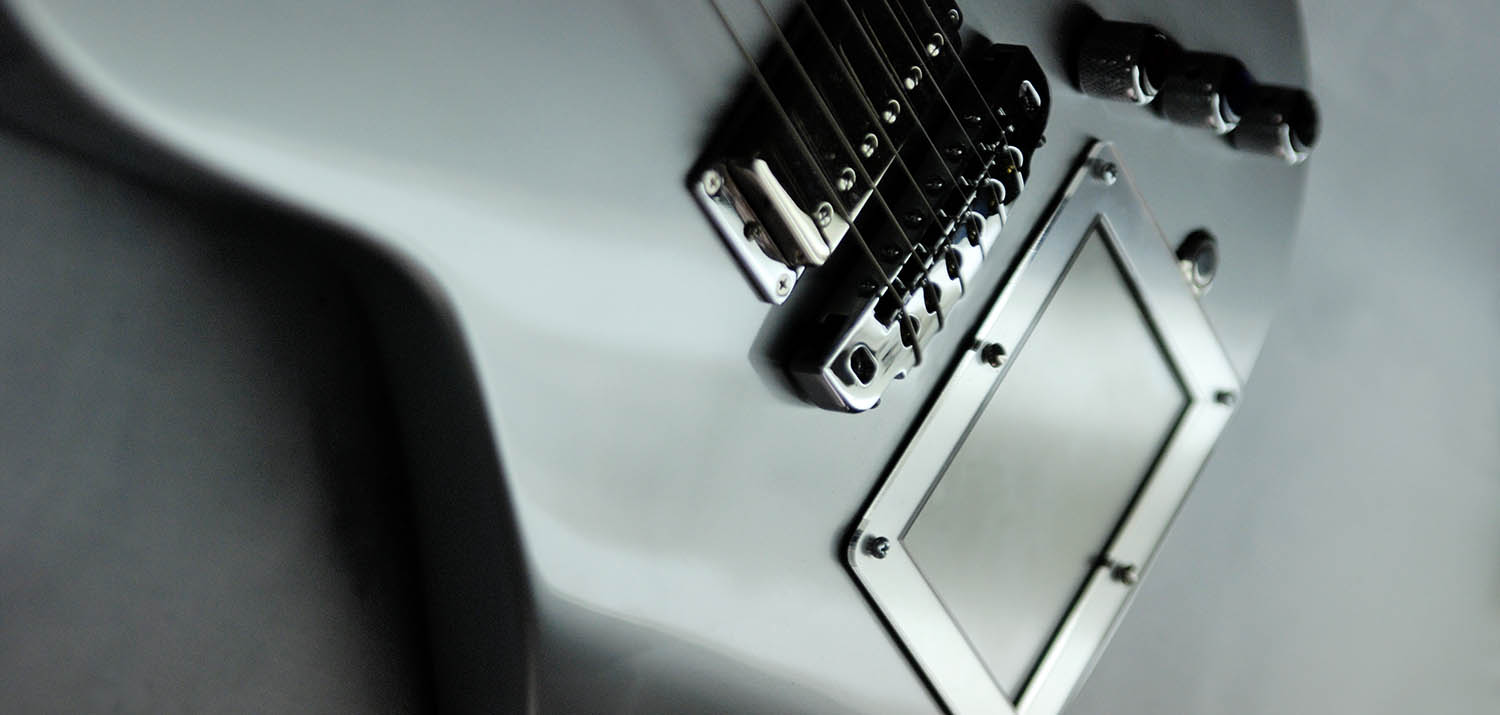
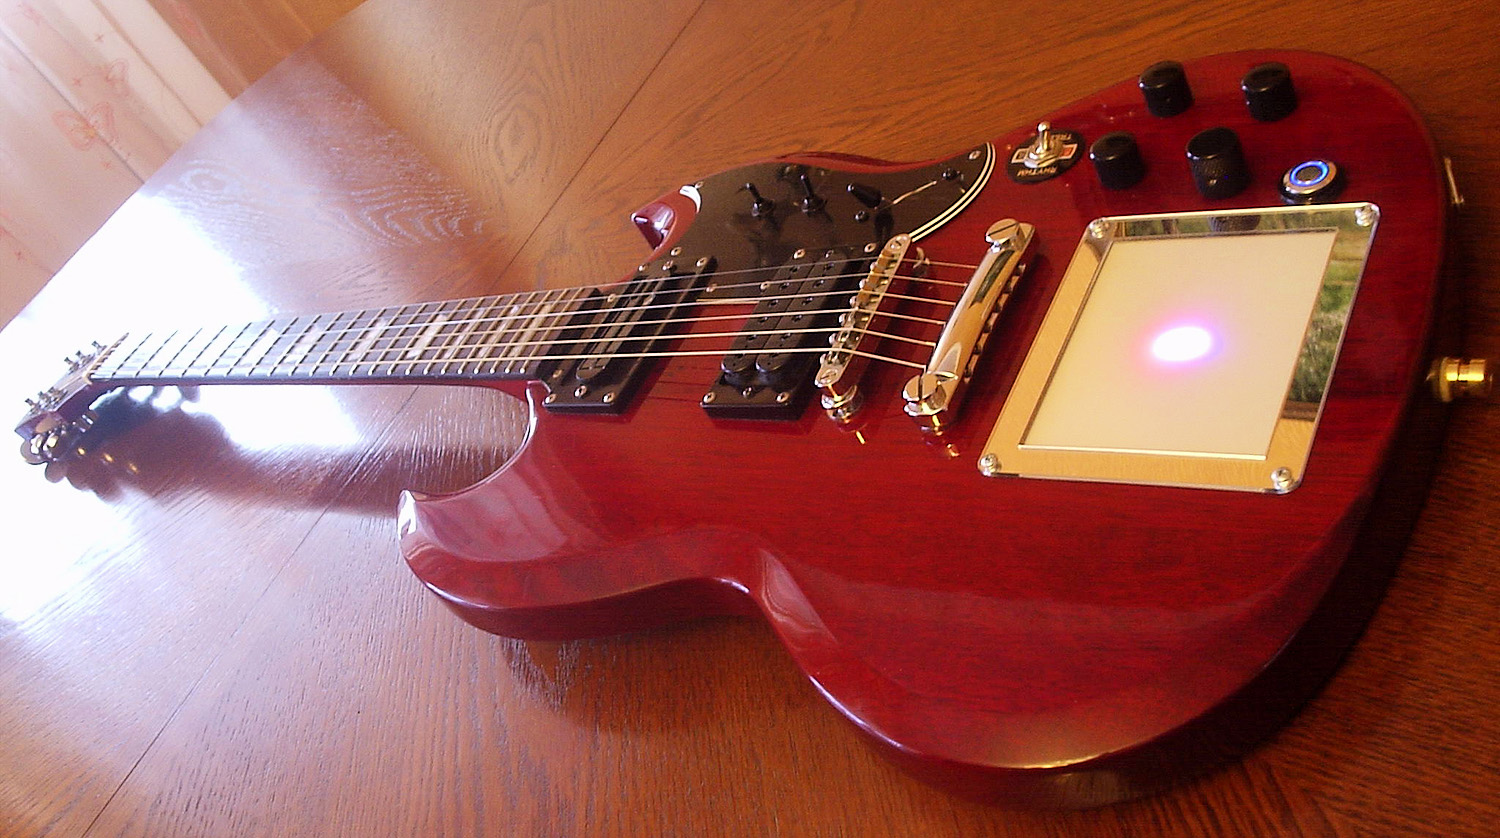
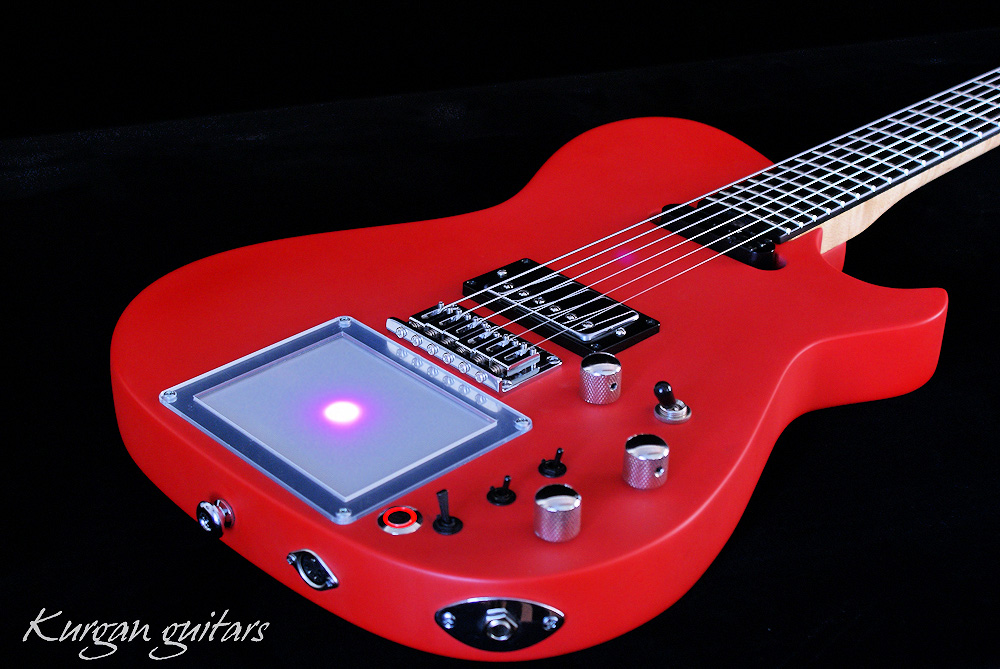
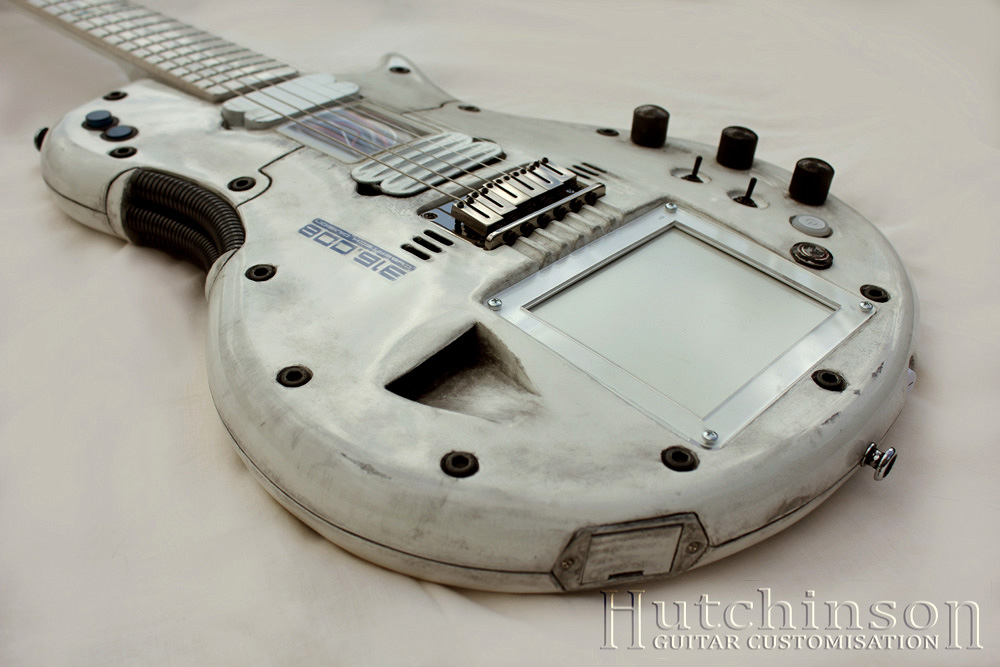
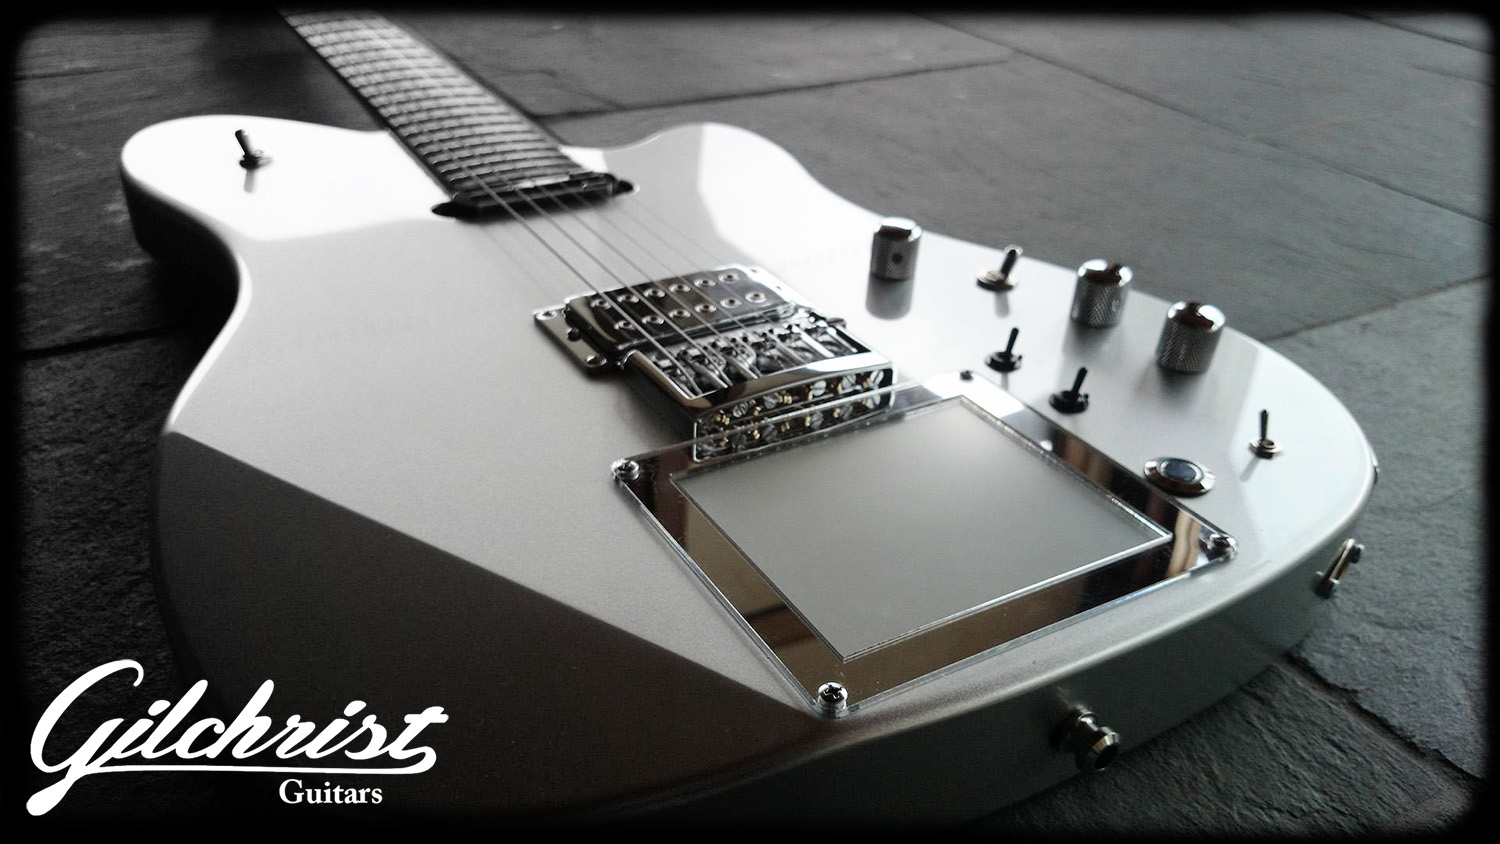
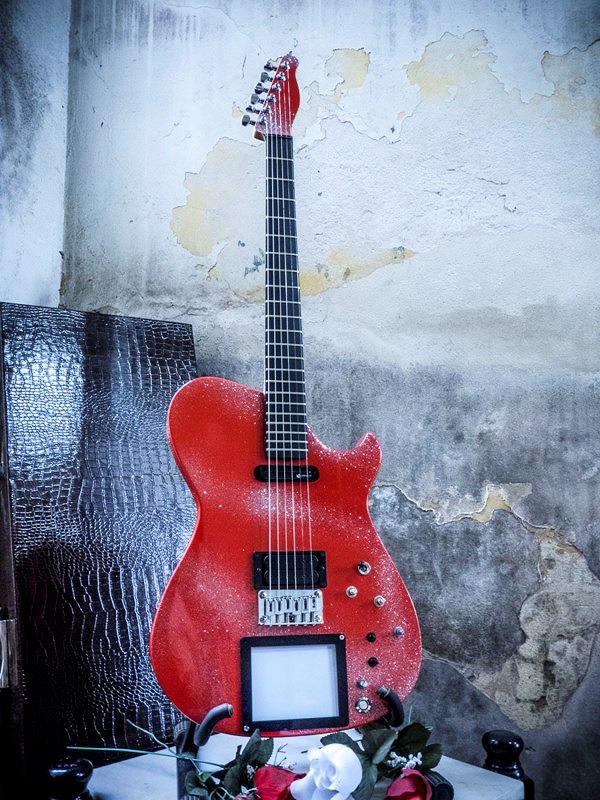
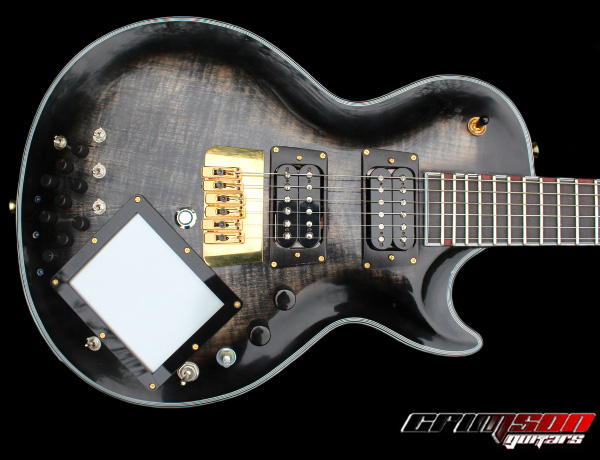
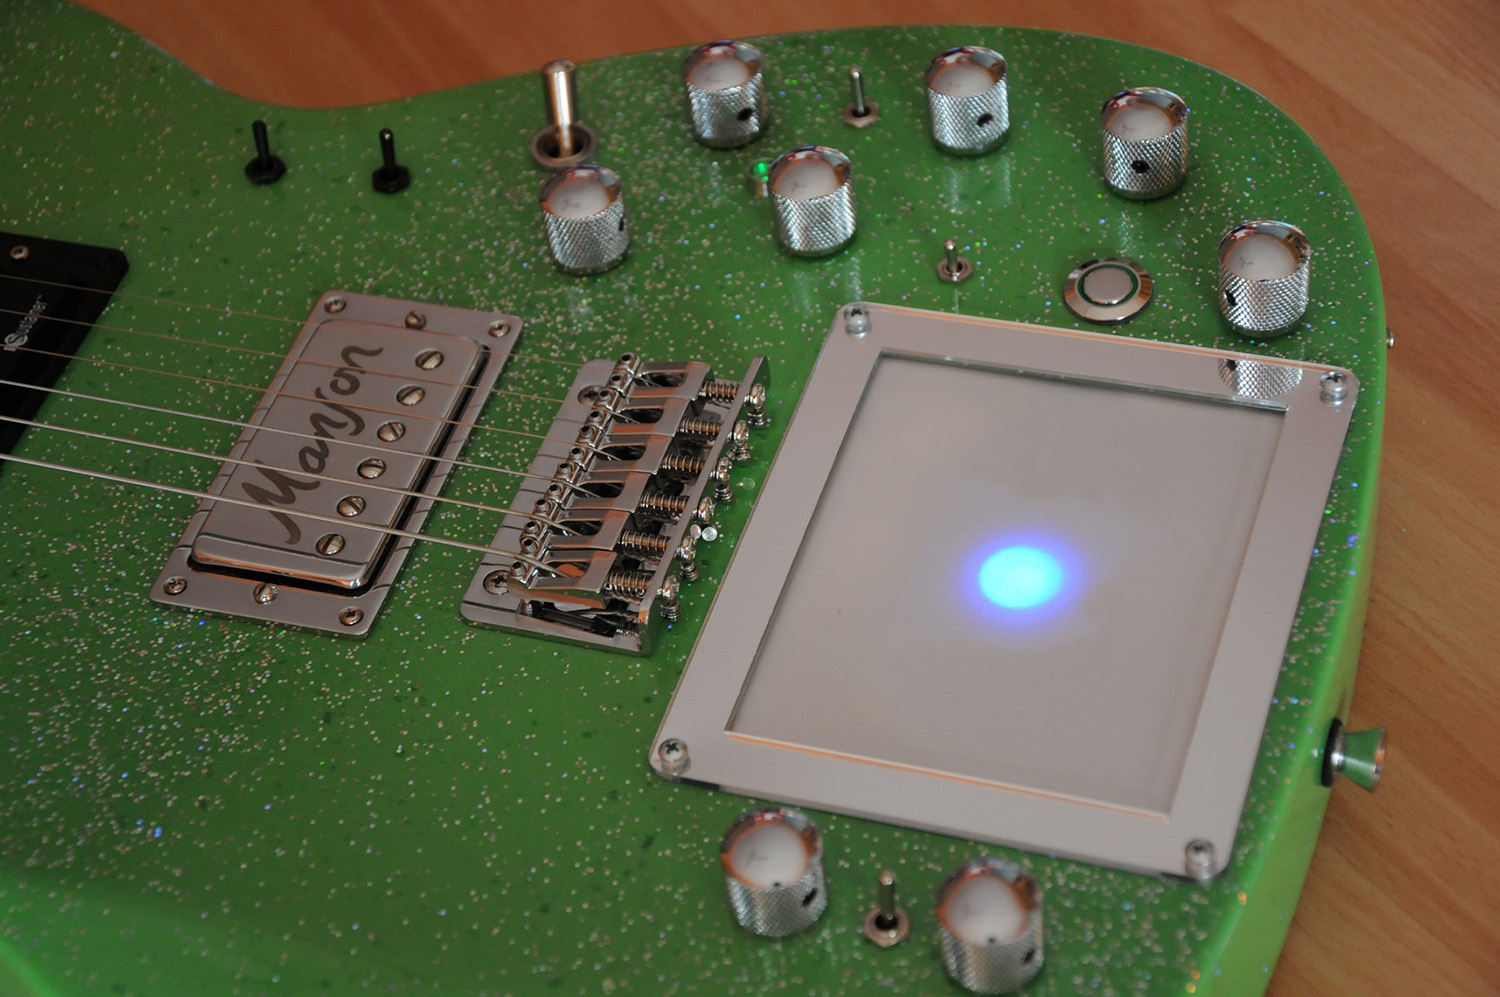
XY MIDIpad is a MIDI controller mounted in an electric guitar body. It is based on a touch screen and enables user to control any MIDI device. If you are looking to add something useful, extraordinary and insanely cool looking to your guitar, XY MIDIpad is definitely for you!
Concept
| KEY FEATURES |
|---|
|
The concept behind the XY MIDIpad controller is brilliantly simple – control any MIDI parameters with the touch of your finger. You can control distortion level, echo, VST plugins, Korg Kaoss Pad devices, DigiTech Whammy pedals, Cubase, Logic or any DAW and even the stage lighting.
XY MIDIpad is also equipped with a hold button (with blue LED ring) and a rotary encoder (with push-button), which greatly increase the controller’s functionality. Hold button allows the user to freeze a specified MIDI message, whereas the rotary encoder makes it possible to change MIDI programs on the fly. By pressing the rotary encoder push-button, the user can switch between various XY MIDIpad modes.
How does it work?
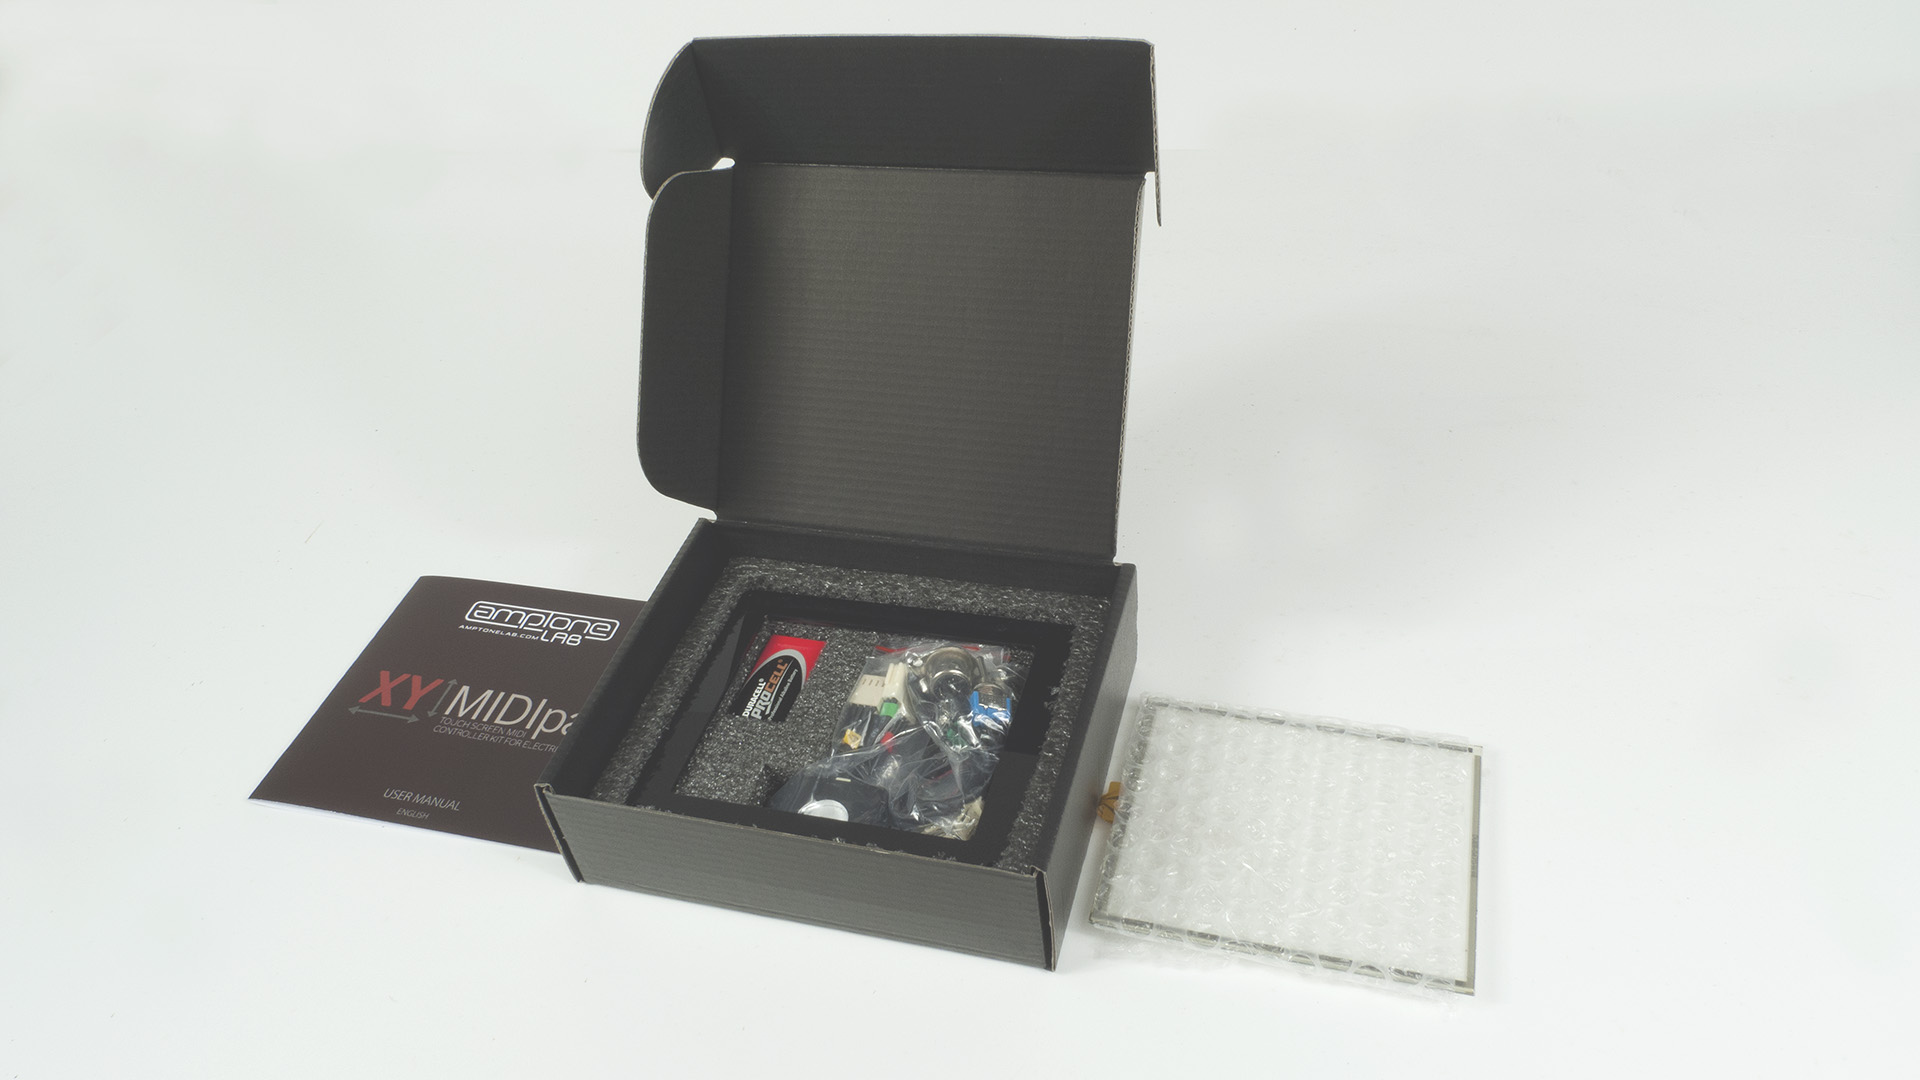
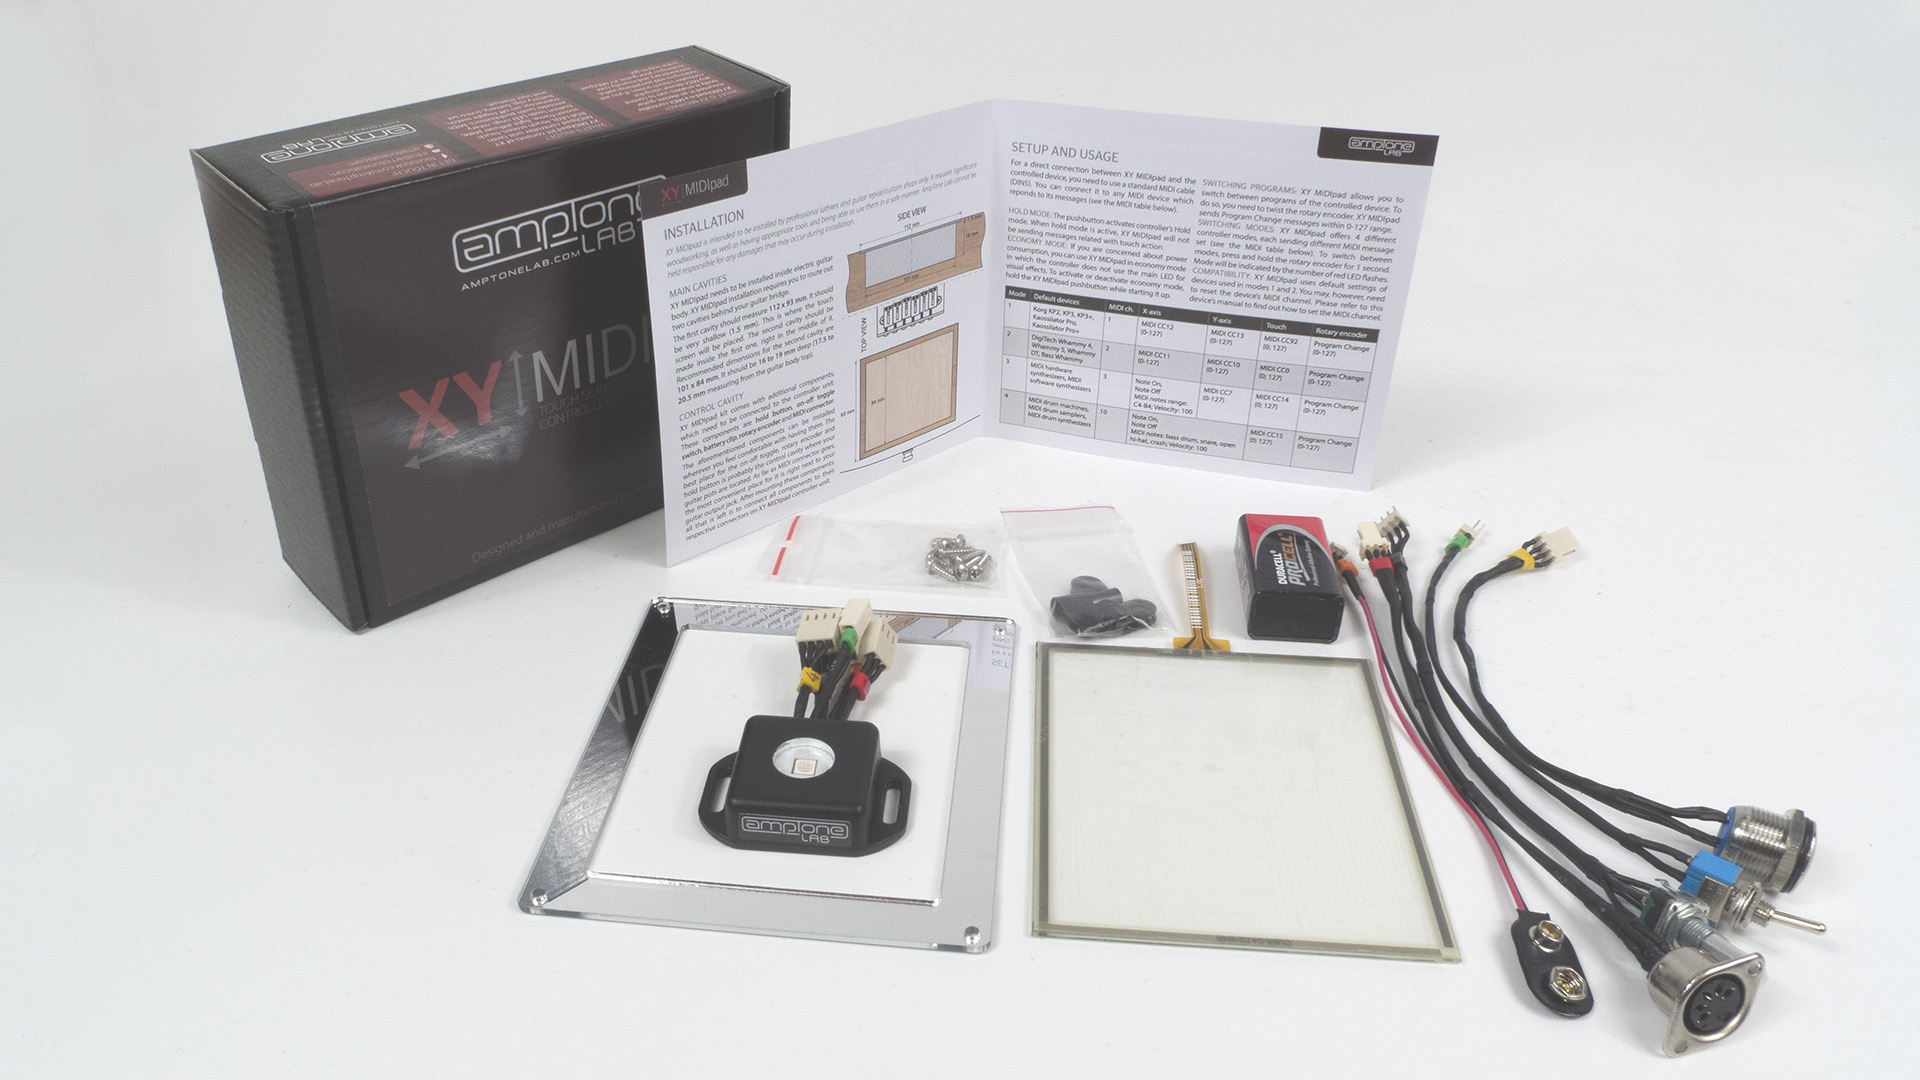
| WHAT’S IN THE BOX? |
|---|
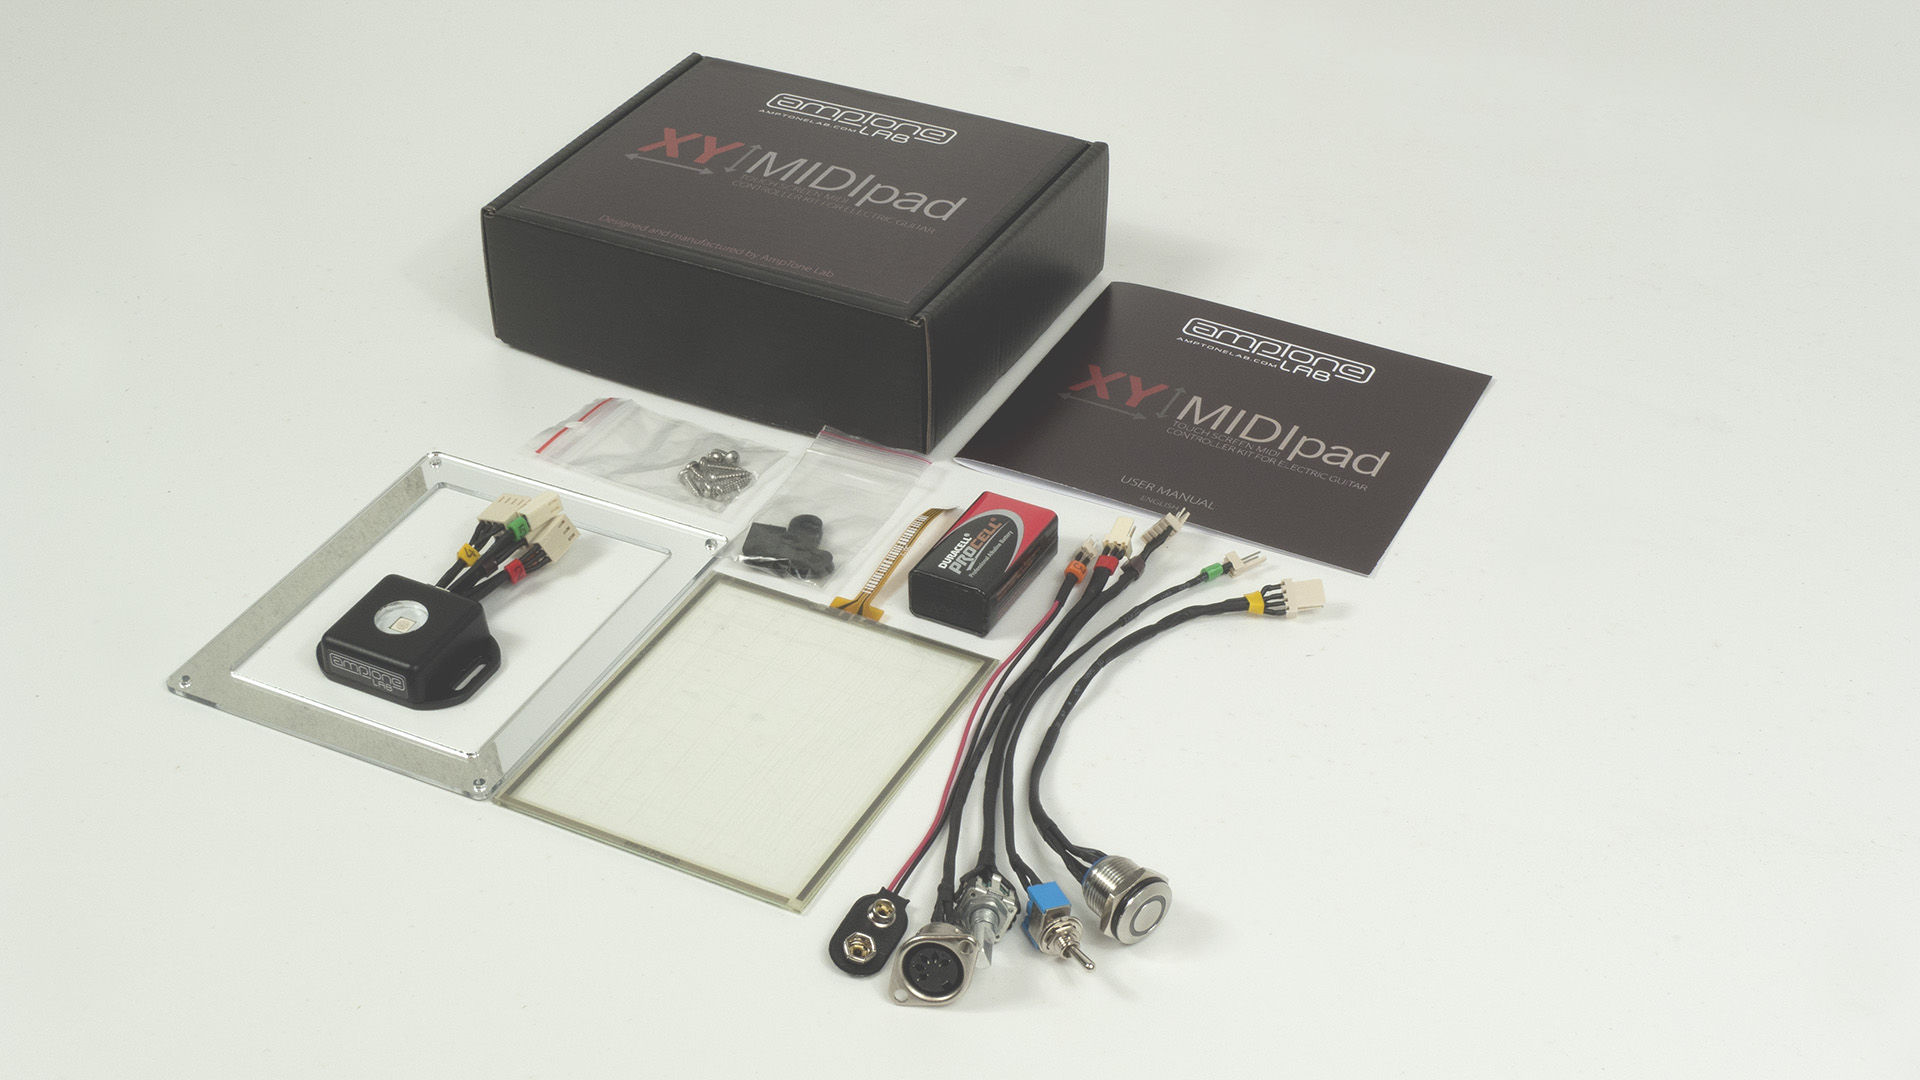
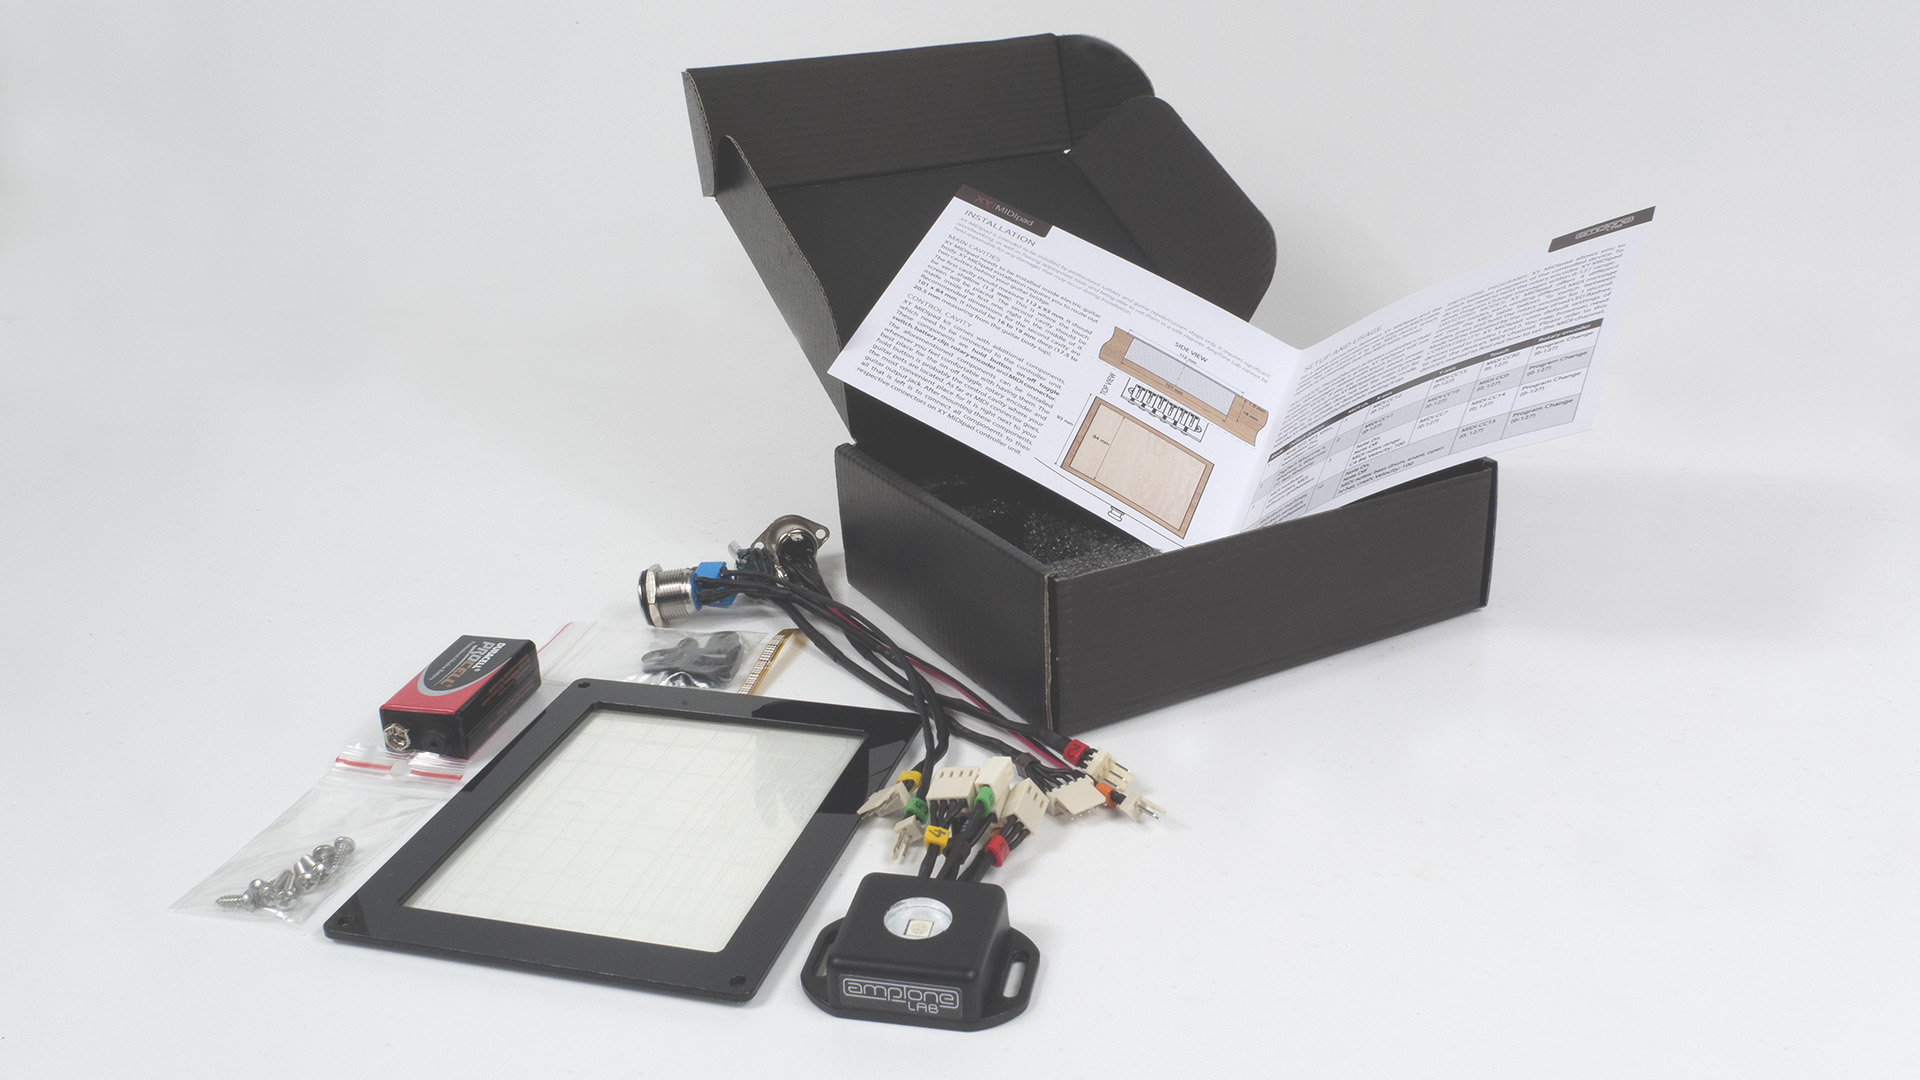
XY MIDIpad comes in a form of a kit. It consists of:
|
XY MIDIpad sends MIDI messages to any device you connect it to. Technically it can be any MIDI device or app which responds to messages transmitted by XY MIDIpad (see MIDI Messages tab above for more details).
Depending on the currently selected mode, XY MIDIpad will send various MIDI message related to the current X and Y values. It can even send drum notes messages directly to your MIDI/VST/AU drum machine.
XY MIDIpad can be operated with a finger or a guitar pick.
What to use it with?
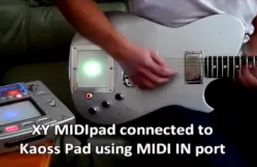
XY MIDIpad works with any MIDI hardware and software responding to its messages, but the main focus has been put on achieving full compatibility with Korg’s Kaoss devices, DigiTech Whammy series and MIDI instruments (including drums). Please see the full compatibility list in Tech Spec tab above.
If you want to have XY MIDIpad connected to more than one device at the same time, you will need a reliable MIDI thru box, such as our fantastic MIDI Splitter.
How to use it?
After installation, you just need to plug the controller to your favorite MIDI thing using a standard MIDI cable and you are ready to rock! See the Videos tab above to get an idea of how it all works.
A smaller version of XY MIDIpad is also available – XY MIDIpad mini.
Dimensions
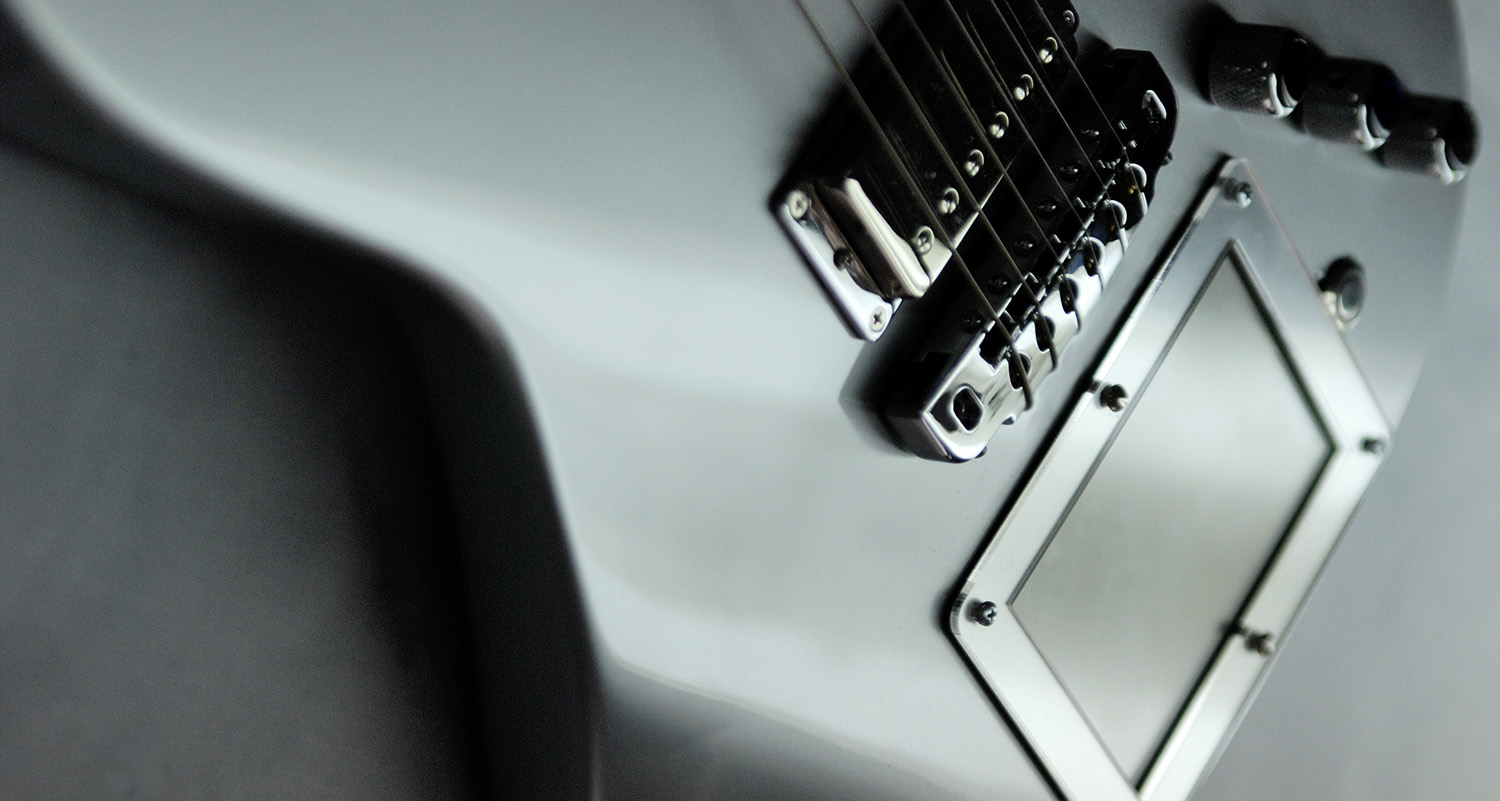
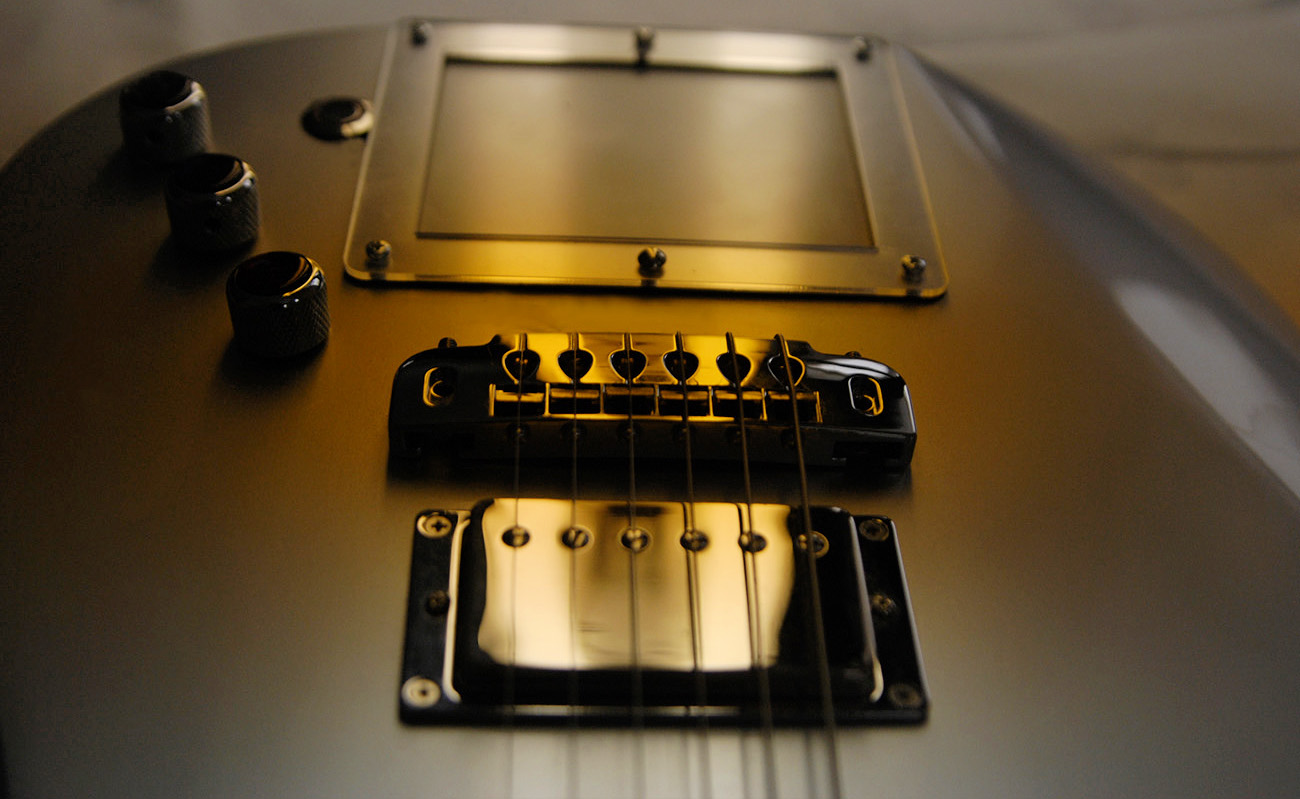
In order to install XY MIDIpad, you need to make sure there is enough space in your guitar. The touch screen with frame takes up 129 x 109 mm and this is how much free space you need to have behind your bridge.
You also need to make sure that your guitar is at least 23 mm thick. The XY MIDIpad controller unit is mounted beneath the touch screen, so it is necessary for your guitar to have enough space for it.
Guitar body top
While it is possible to use a curved-top guitar for XY MIDIpad installation, it is recommended to use a guitar with a flat-top body instead. Installing XY MIDIpad on a surface that is not perfectly flat will require some additional woodworking to make sure it fits well. The touch screen is made of glass, so it is not possible to bend it.
| DISCLAIMER |
|---|
| XY MIDIpad is intended to be installed by professional luthiers and guitar repair/custom shops only. It requires significant woodworking, as well as having appropriate tools and being able to use them in a safe manner. AmpTone Lab cannot be held responsible for any damages caused by improper installation.
It is strongly recommended NOT to make any modifications to your guitar before receiving your XY MIDIpad kit. |
XY MIDIpad installation
Installation videos and tutorial
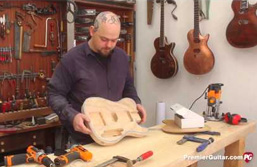
Probably the best way to understand the installation process is to watch a video documenting it. Luckily, we have two of these videos for XY MIDIpad. Both of them were recorded by Ben Crowe, Master Luthier at Crimson Guitars. One of the videos was recorded for Crimson Guitars YouTube channel, while the other was made for Premier Guitar magazine (featured in February 2014 issue).
Along with Premier Guitar’s installation video, February 2014 issue of the magazine featured a detailed step-by-step installation tutorial, also written by Ben Crowe. You can read it for free on Premier Guitar’s website – DIY: How to Install a MIDI Pad in Your Guitar.
XY MIDIpad installation
Main cavities
XY MIDIpad comes in a form of a kit which needs to be installed inside an electric guitar body. XY MIDIpad installation requires you to route out 2 cavities behind your guitar bridge.
The first cavity should measure 112 x 93 mm. It should be very shallow (approx. 1.5 mm). This is where the touch screen will be placed, so you need to make sure it sits firmly inside the cavity.
The second cavity should be made inside the first one, right in the middle of it. Recommended dimensions for this cavity are 101 x 84 mm. It should be 16-19 mm deep (17.5-20.5 mm measuring from the guitar body top) – the deeper the cavity, the more diffused the LED light be. If you don’t know how deep it should be, just make it 17 mm deep (18.5 mm measuring from the guitar body top).
Control cavity
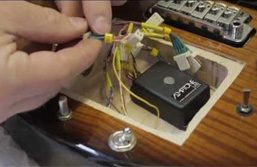
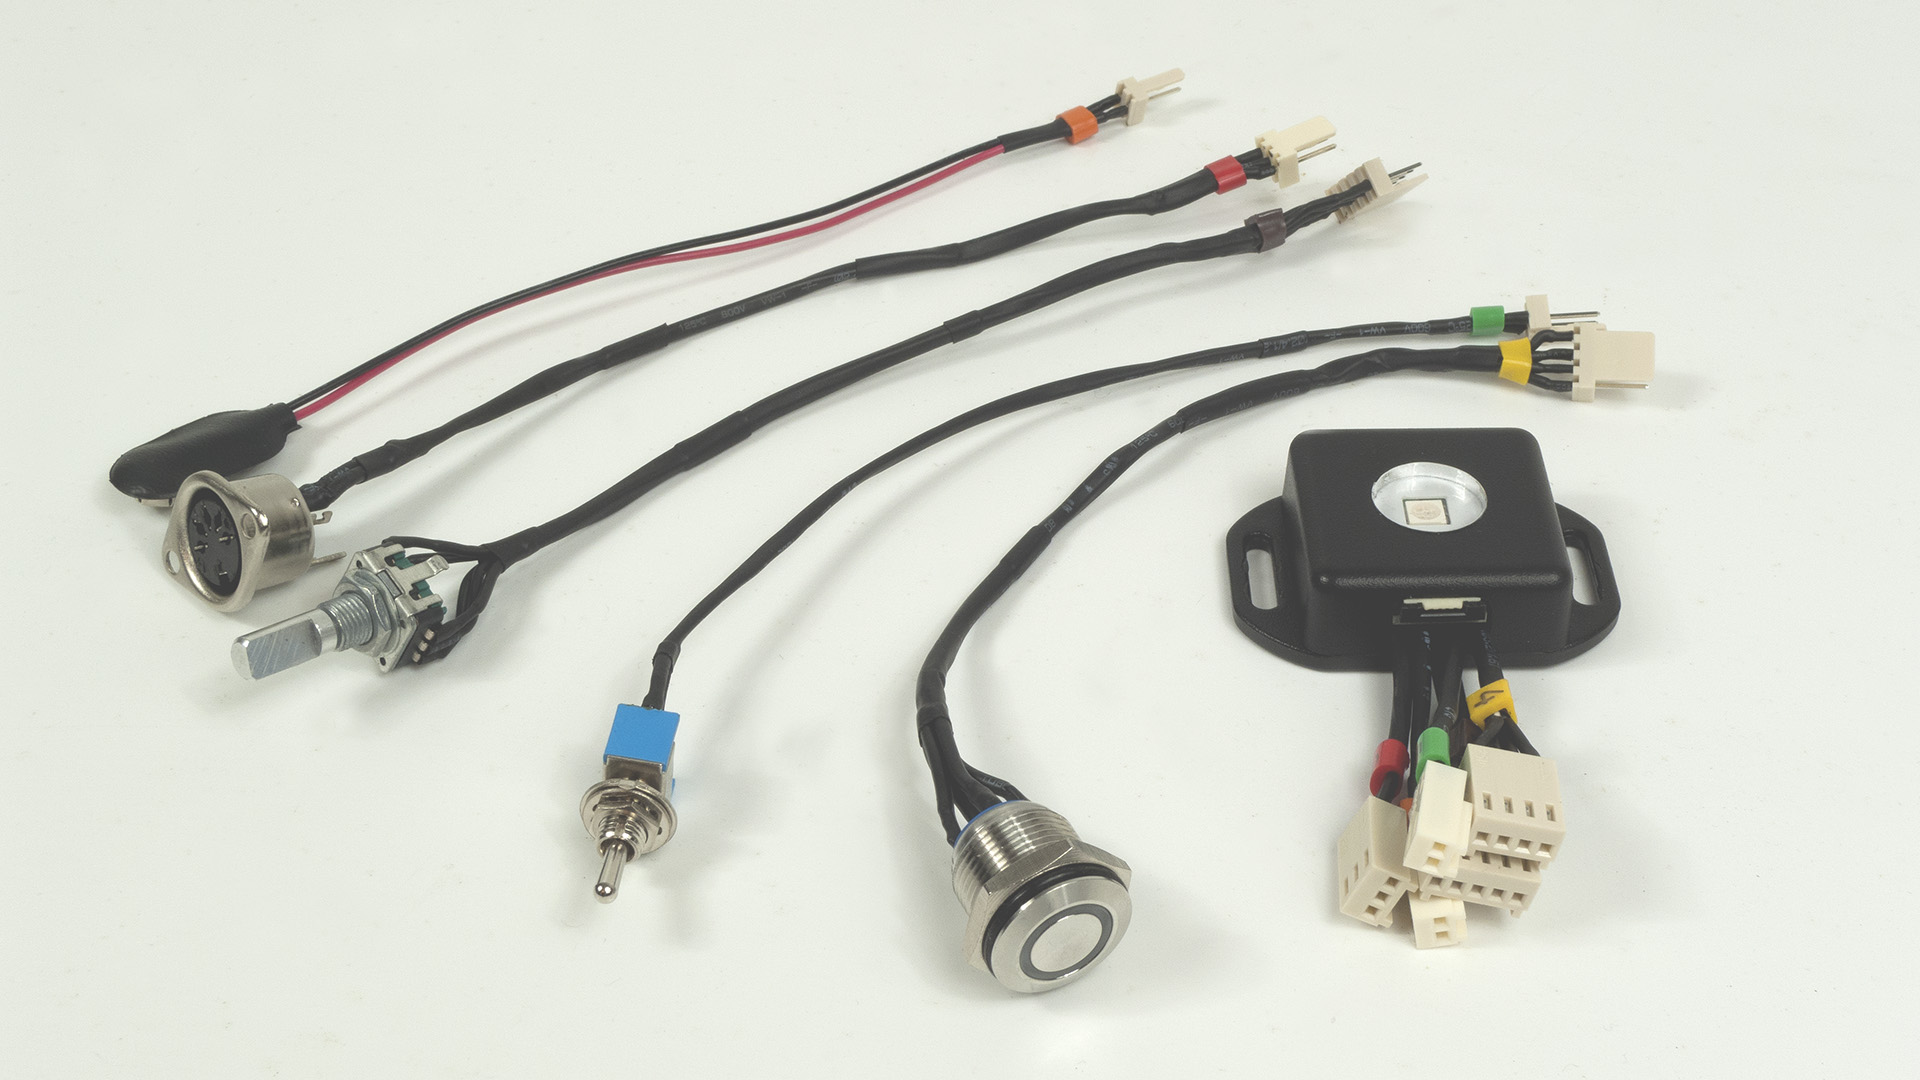
XY MIDIpad kit comes with additional components, which need to be connected to the controller unit. These components are hold button, on-off toggle switch, battery clip, rotary encoder and MIDI connector.
The aforementioned components can be installed wherever you feel comfortable with having them. The best place for the on-off toggle, rotary encoder and hold button is probably your control cavity where your volume and tone pots are located. As far as MIDI connector goes, the most convenient place for it is right next to your guitar output jack. For the battery clip, you may want to make another cavity with easily removable back plate, just to make changing the battery easy.
After mounting these components, all that is left is to join all cavities containing XY MIDIpad kit components together, so they can be connected to the main controller unit.
Additional information
All additional information can be found in XY MIDIpad User Manual.
If you have any doubts regarding the installation process, please refer to the installation videos available above. Please feel free to Contact us with any questions you have regarding XY MIDIpad.
XY MIDIpad specification
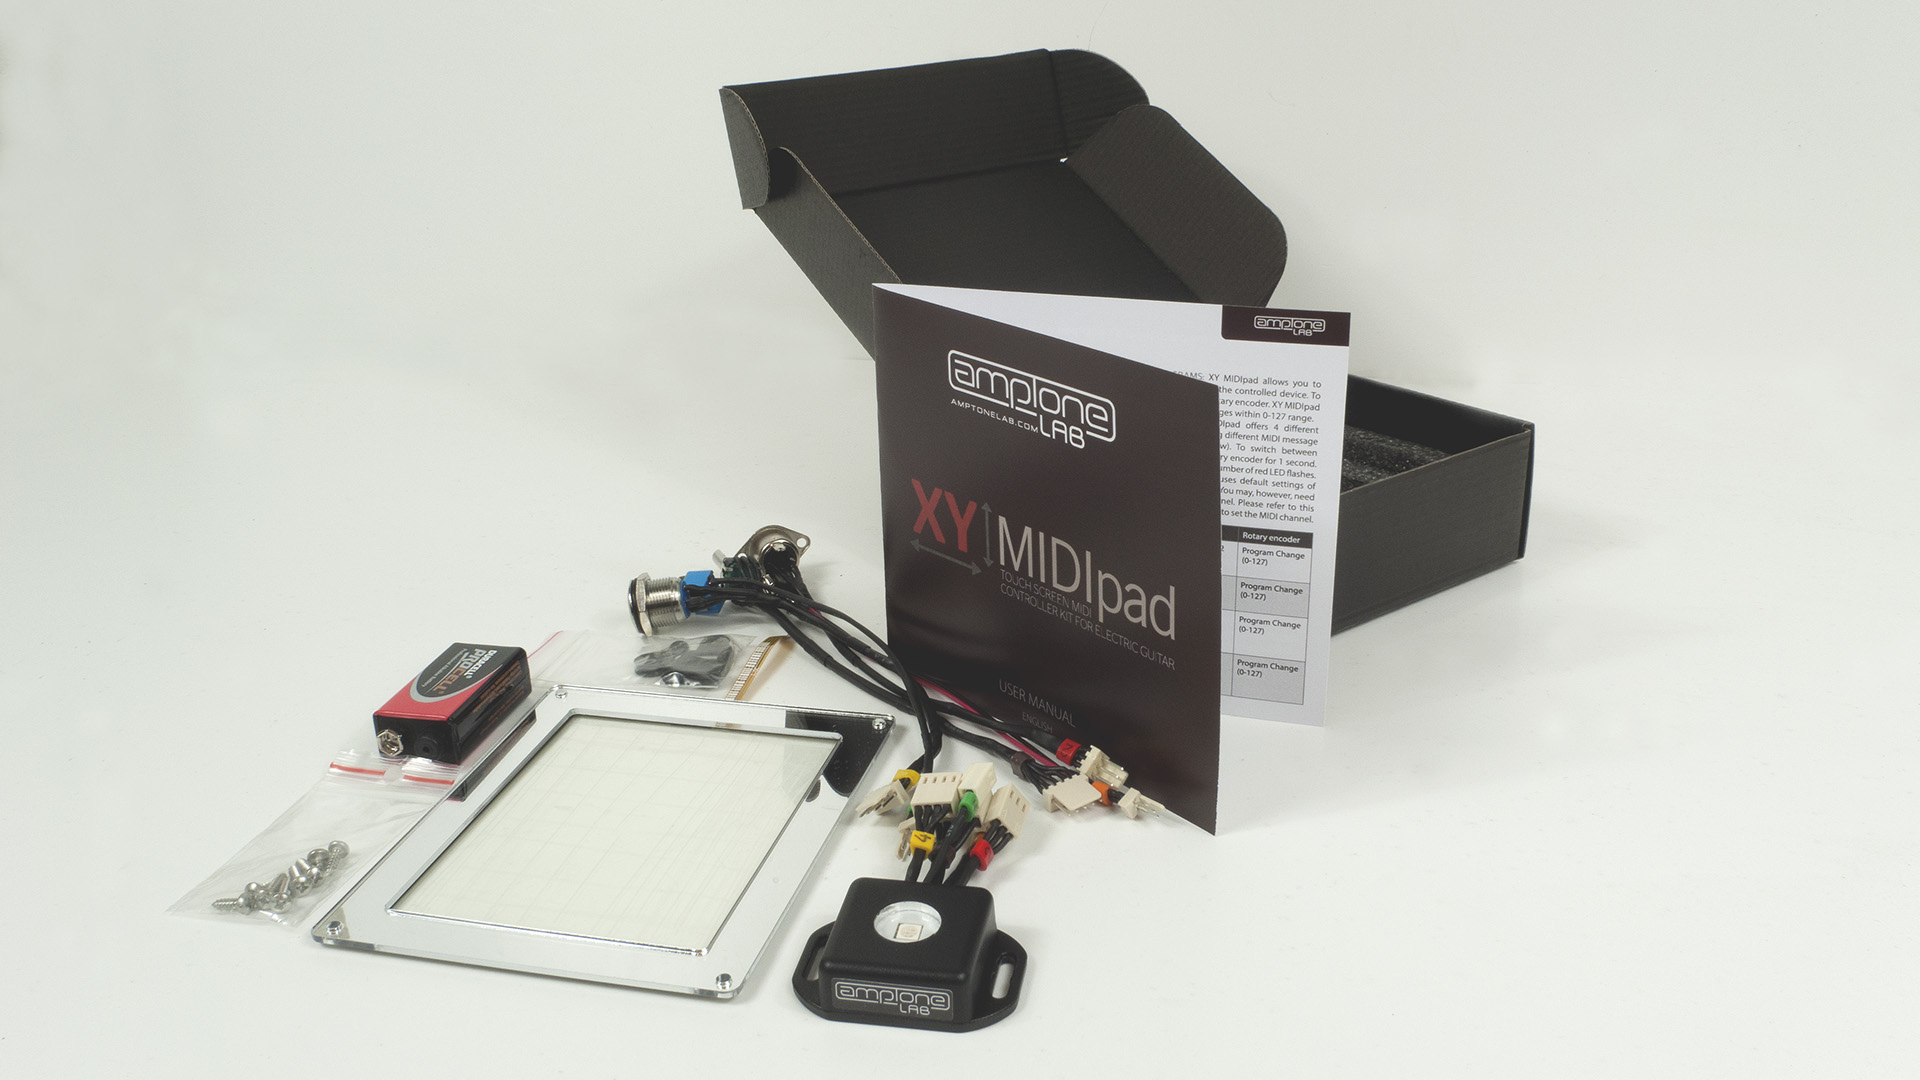
| Power source | 9V battery (included) |
| Battery life | up to 65 hours (economy mode) |
| Controls |
|
| Compatible with |
|
| Included items |
|
XY MIDIpad transmitted MIDI messages
| Mode | Devices | MIDI channel | X-axis | Y-axis | Touch | Rotary encoder |
| 1 |
|
1 | MIDI CC12 (0-127) |
MIDI CC13 (0-127) |
MIDI CC92 (0; 127) |
Program Change (0-127) |
| 2 |
|
2 | MIDI CC11 (0-127) |
MIDI CC10 (0-127) |
MIDI CC0 (0; 127) |
Program Change (0-127) |
| 3 |
|
3 |
Notes velocity: 100 |
MIDI CC7 (0-127) |
MIDI CC14 (0; 127) |
Program Change (0-127) |
| 4 |
|
10 |
Notes velocity: 100 |
MIDI CC15 (0; 127) |
Program Change (0-127) | |
XY MIDIpad demonstration
Author: AmpTone Lab

XY MIDIpad sounds guide
Author: Crimson Guitars
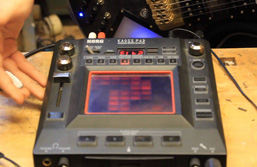
Kaoss Pad connection
Author: Crimson Guitars

XY MIDIpad installation 1
Author: Crimson Guitars

XY MIDIpad installation 2
Author: Premier Guitar
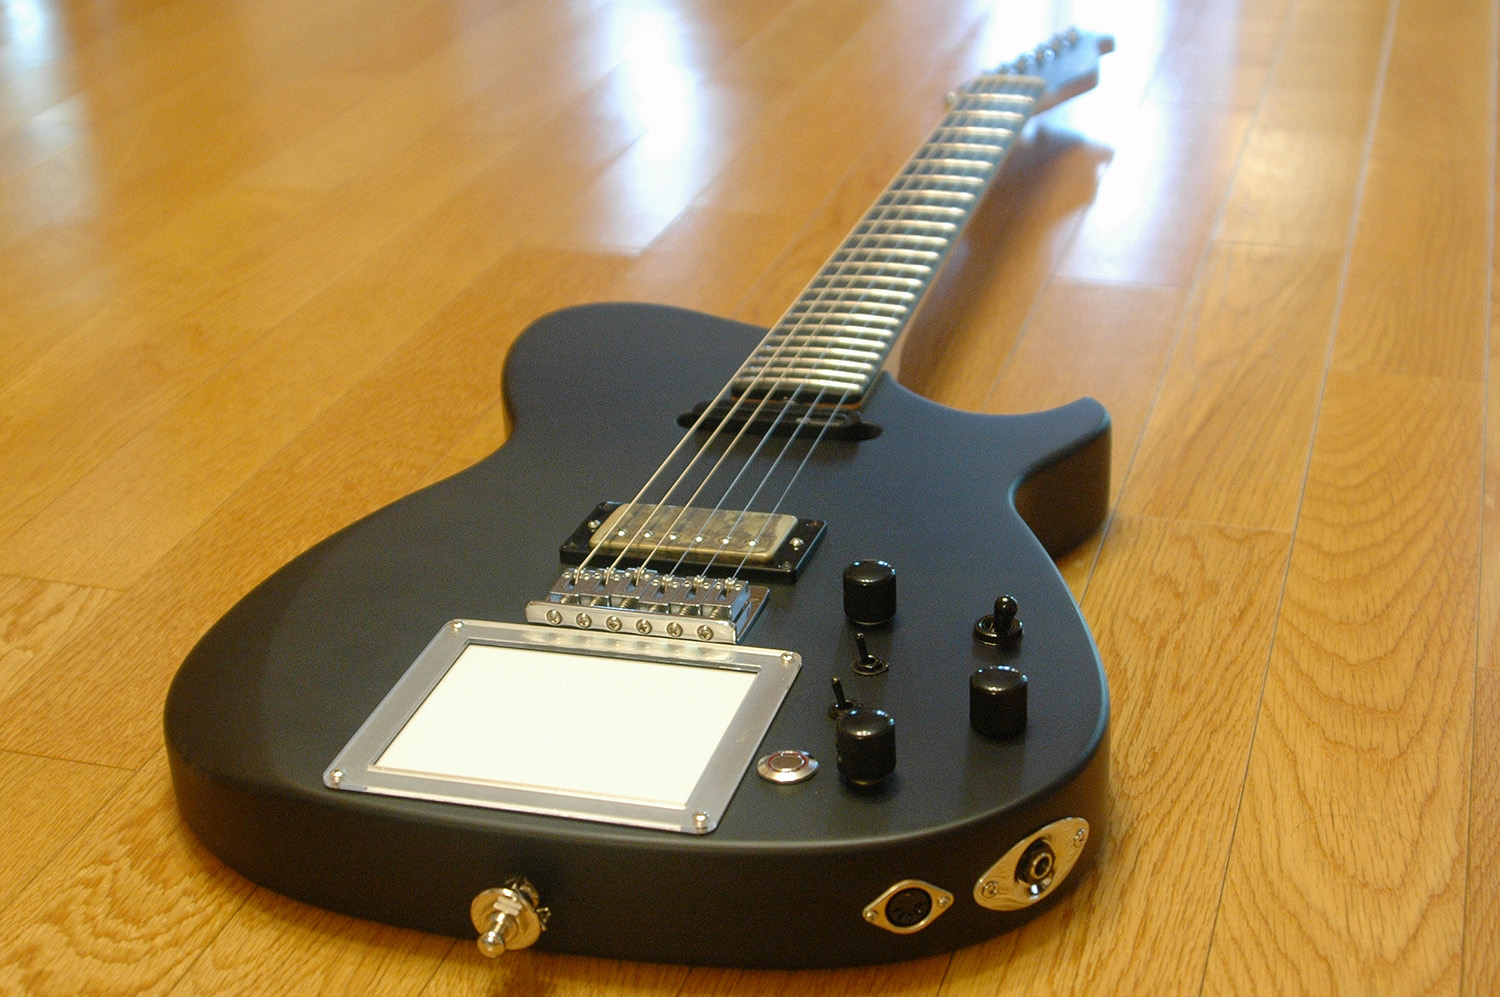
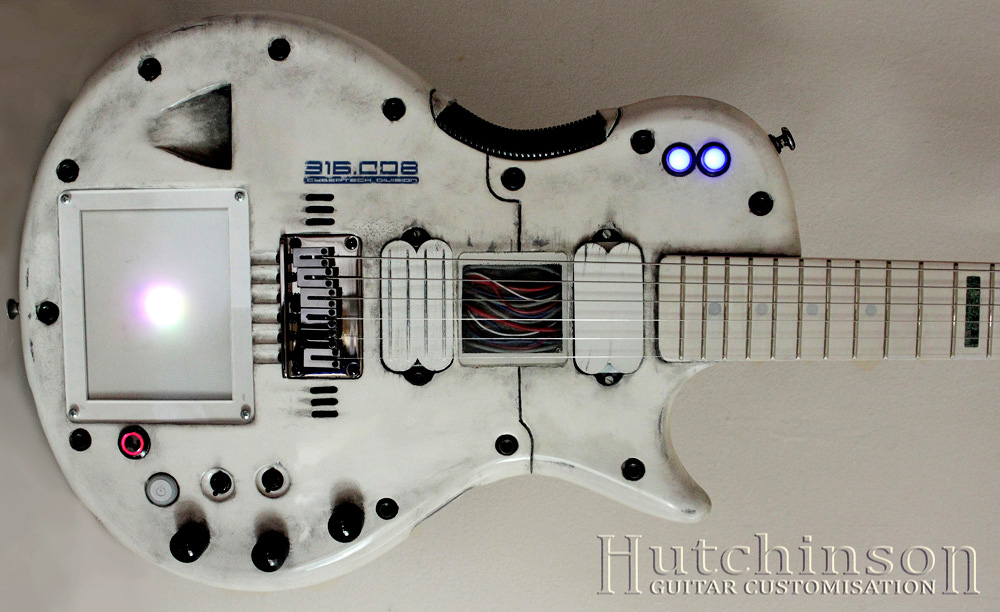
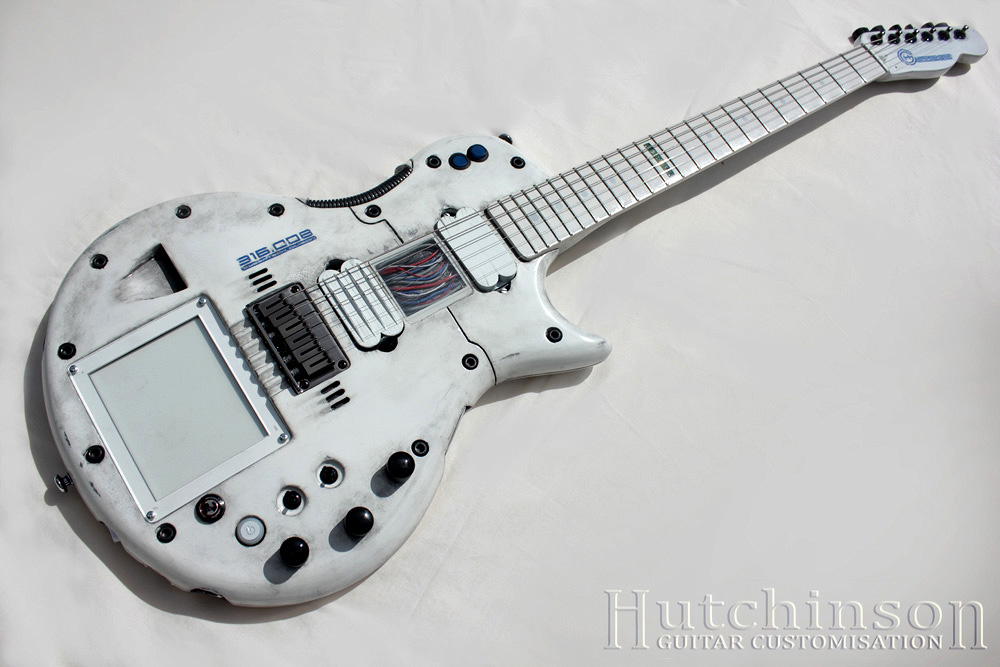
XY MIDIpad guitars

XY MIDIpad kit

XY MIDIpad – Frequently Asked Questions
- You can think of XY MIDIpad as of a TV remote. TV remote does nothing on its own, but when you use it in conjunction with your TV, it can actually do lots of things. It’s pretty much the same with XY MIDIpad: on its own it will just flash the LED, which is pretty cool, but if you want to take full advantage of its capabilities, you should plug it to a MIDI device. That way you will be able to control this device externally using your XY MIDIpad.
- MIDI is a protocol used by professional audio devices – effects processors, snythesizers etc. It is also widely used in music production software. In short – MIDI allows multiple devices and applications to communicate with each other. You can read more about it on Wikipedia – MIDI (Wikipedia – English).
- XY MIDIpad is completely independent from your guitar/bass and your amp. XY MIDIpad is a MIDI controller and it can be used to control MIDI hardware or software. From technical point of view, XY MIDIpad can fully operate even without a guitar. You can, of course, use XY MIDIpad to manipulate your guitar sound, but it is not the XY MIDIpad that performs that sound modification. XY MIDIpad sends MIDI messages to external devices that may be doing something to your guitar sound, but on its own, XY MIDIpad is not modifying your sound or generating any sounds directly. So you could install it anywhere, as long as there is enough space – it can even be a piano, since XY MIDIpad is not directly connected to the instrument it is mounted in.
- Just two things – a MIDI device that you want to control (check out “Compatible with” data in Tech Spec tab above) and a MIDI cable. XY MIDIpad uses the standard MIDI connectors, so you will need a typical 5-pin DIN cable. Just go to the nearest music store and ask the assistant for a MIDI cable and he’ll get you what you need.
- You should definitely check out XY MIDIpad mini. It is basically the same as XY MIDIpad, but smaller!
- Technically – yes, it will. Installing XY MIDIpad requires you to take some wood out of your guitar, so this will inevitably lead to a slight change in your timbre. Will you hear the difference? If you are a tone-freak then you probably will, but whether it sounds better or worse is a matter of opinion. The sound difference is always very minimal.