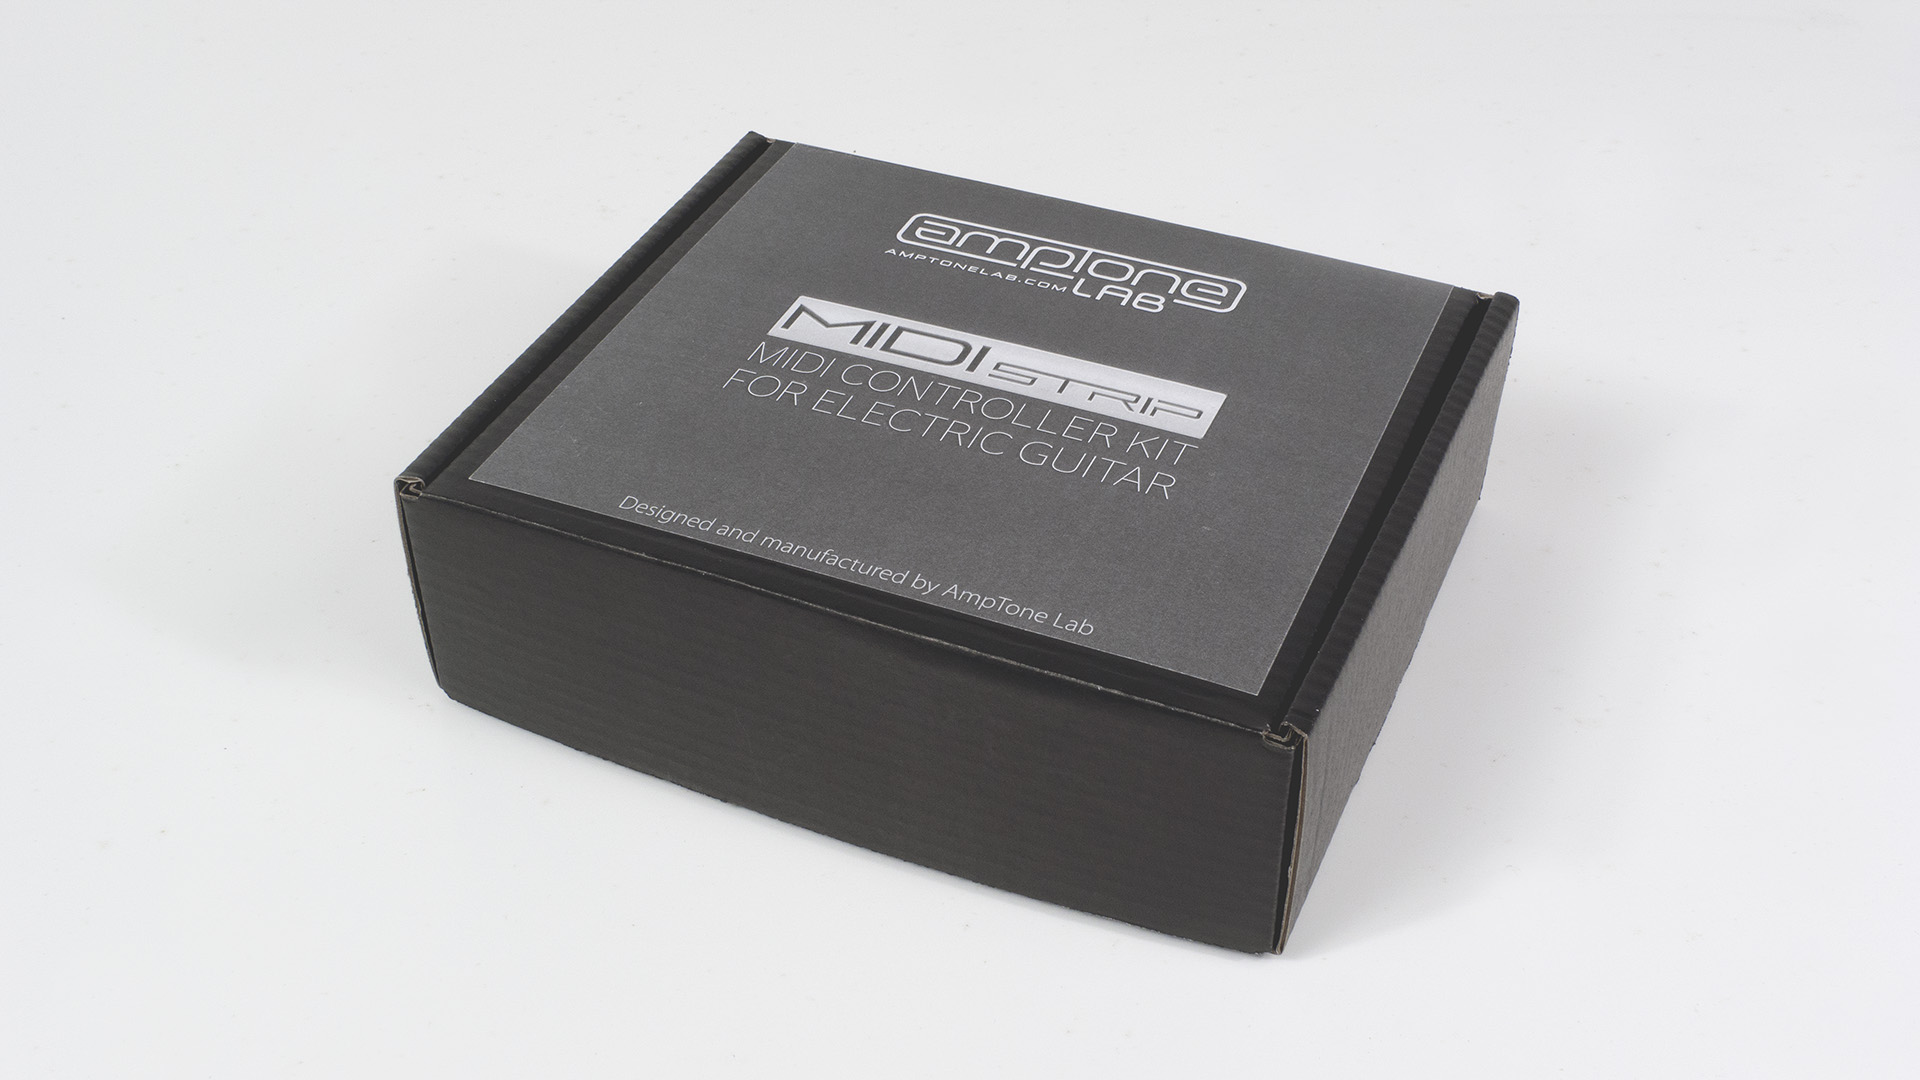
MIDI Strip is a MIDI controller for electric guitars. It can be used to control devices such as Korg Kaoss Pad, DigiTech Whammy, MIDI synthesizers and any MIDI device compatible with its message set.
Functionality
| KEY FEATURES |
|---|
|
MIDI Strip allows you to control parameters of various MIDI devices and programs. You can easily integrate it with your audio environment and change settings such as echo, distortion levels, reverb or Korg Kaoss devices’ and DigiTech Whammy pedals’ parameters. You can also hook it up to your DAW applications, such as Cubase, Logic Pro, REAPER, Ableton Live or any other.
MIDI Strip kit includes a hold button and a rotary encoder (with push-button), which greatly increase the controller’s functionality. Hold button allows the user to freeze a certain MIDI message, while the rotary encoder makes it possible to change MIDI programs on the spot. By pressing the rotary encoder push-button user can switch between controller modes.
How does it work?
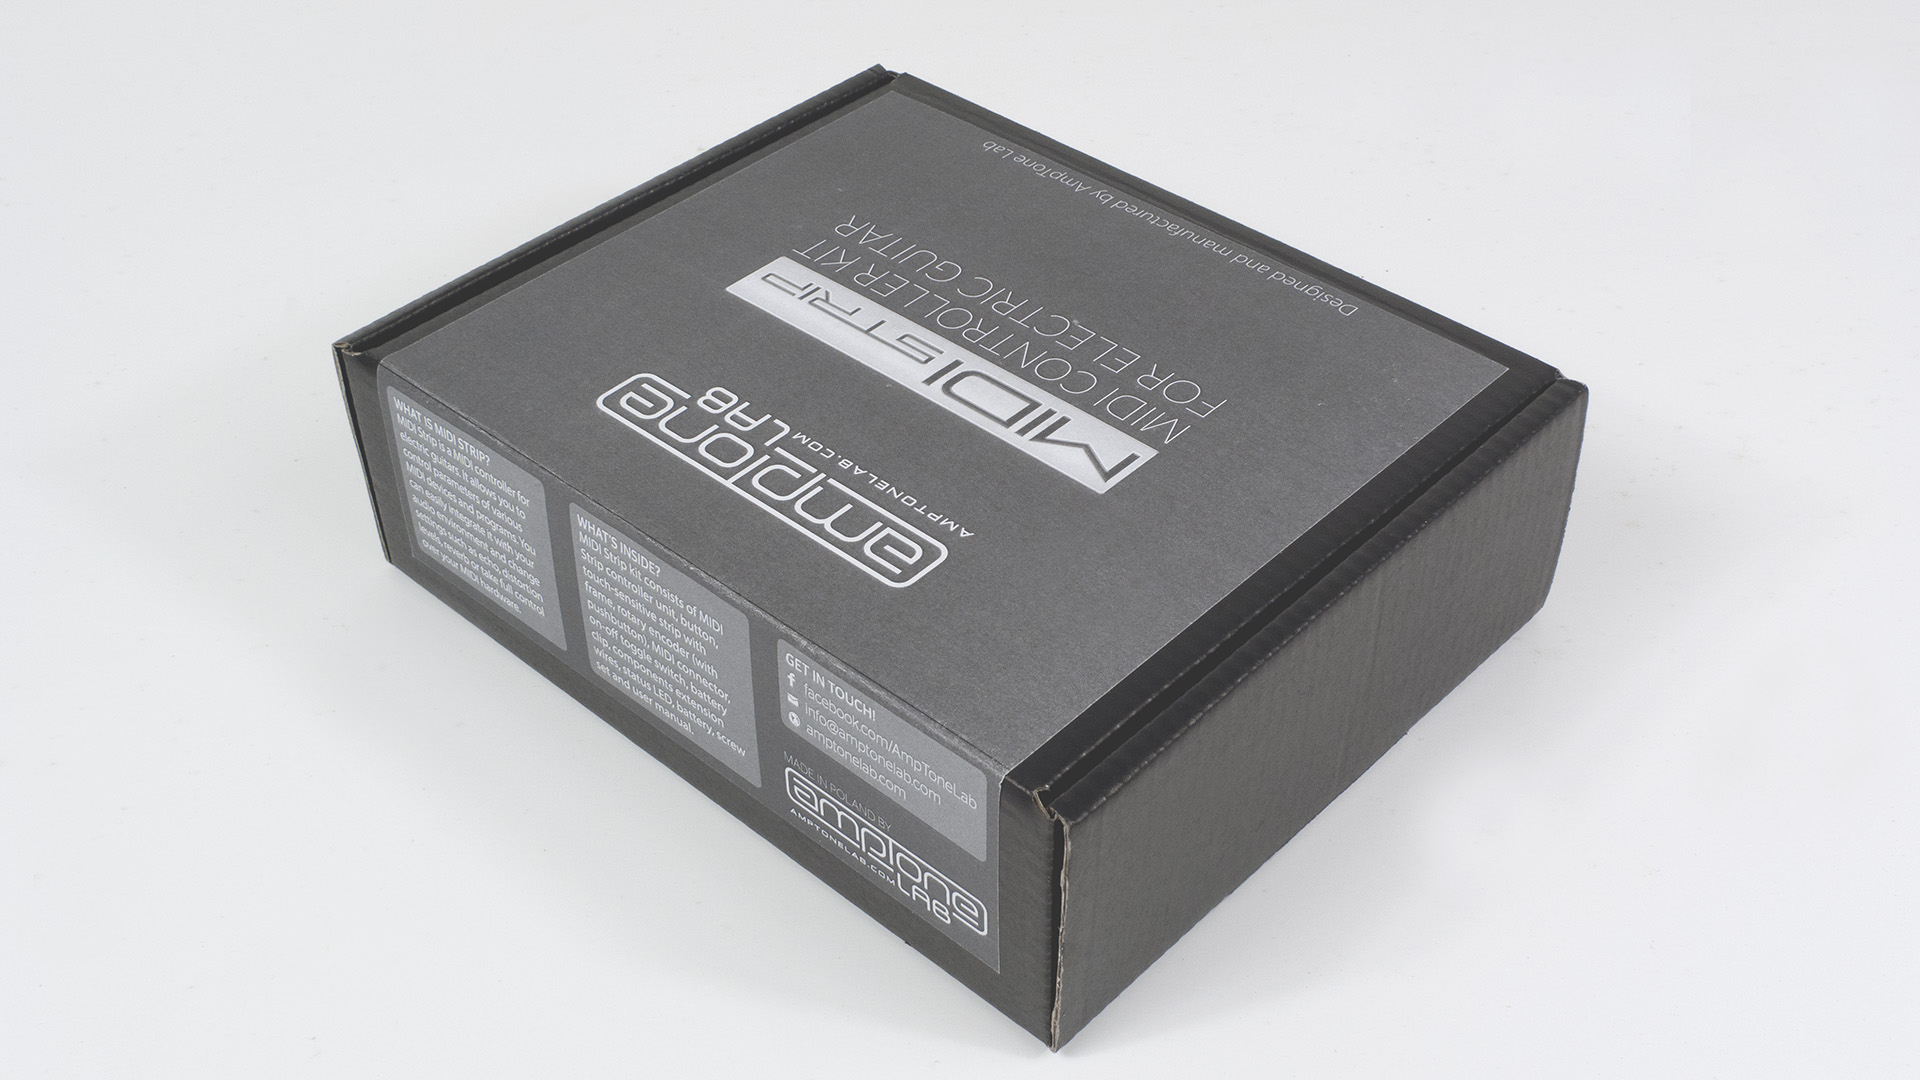
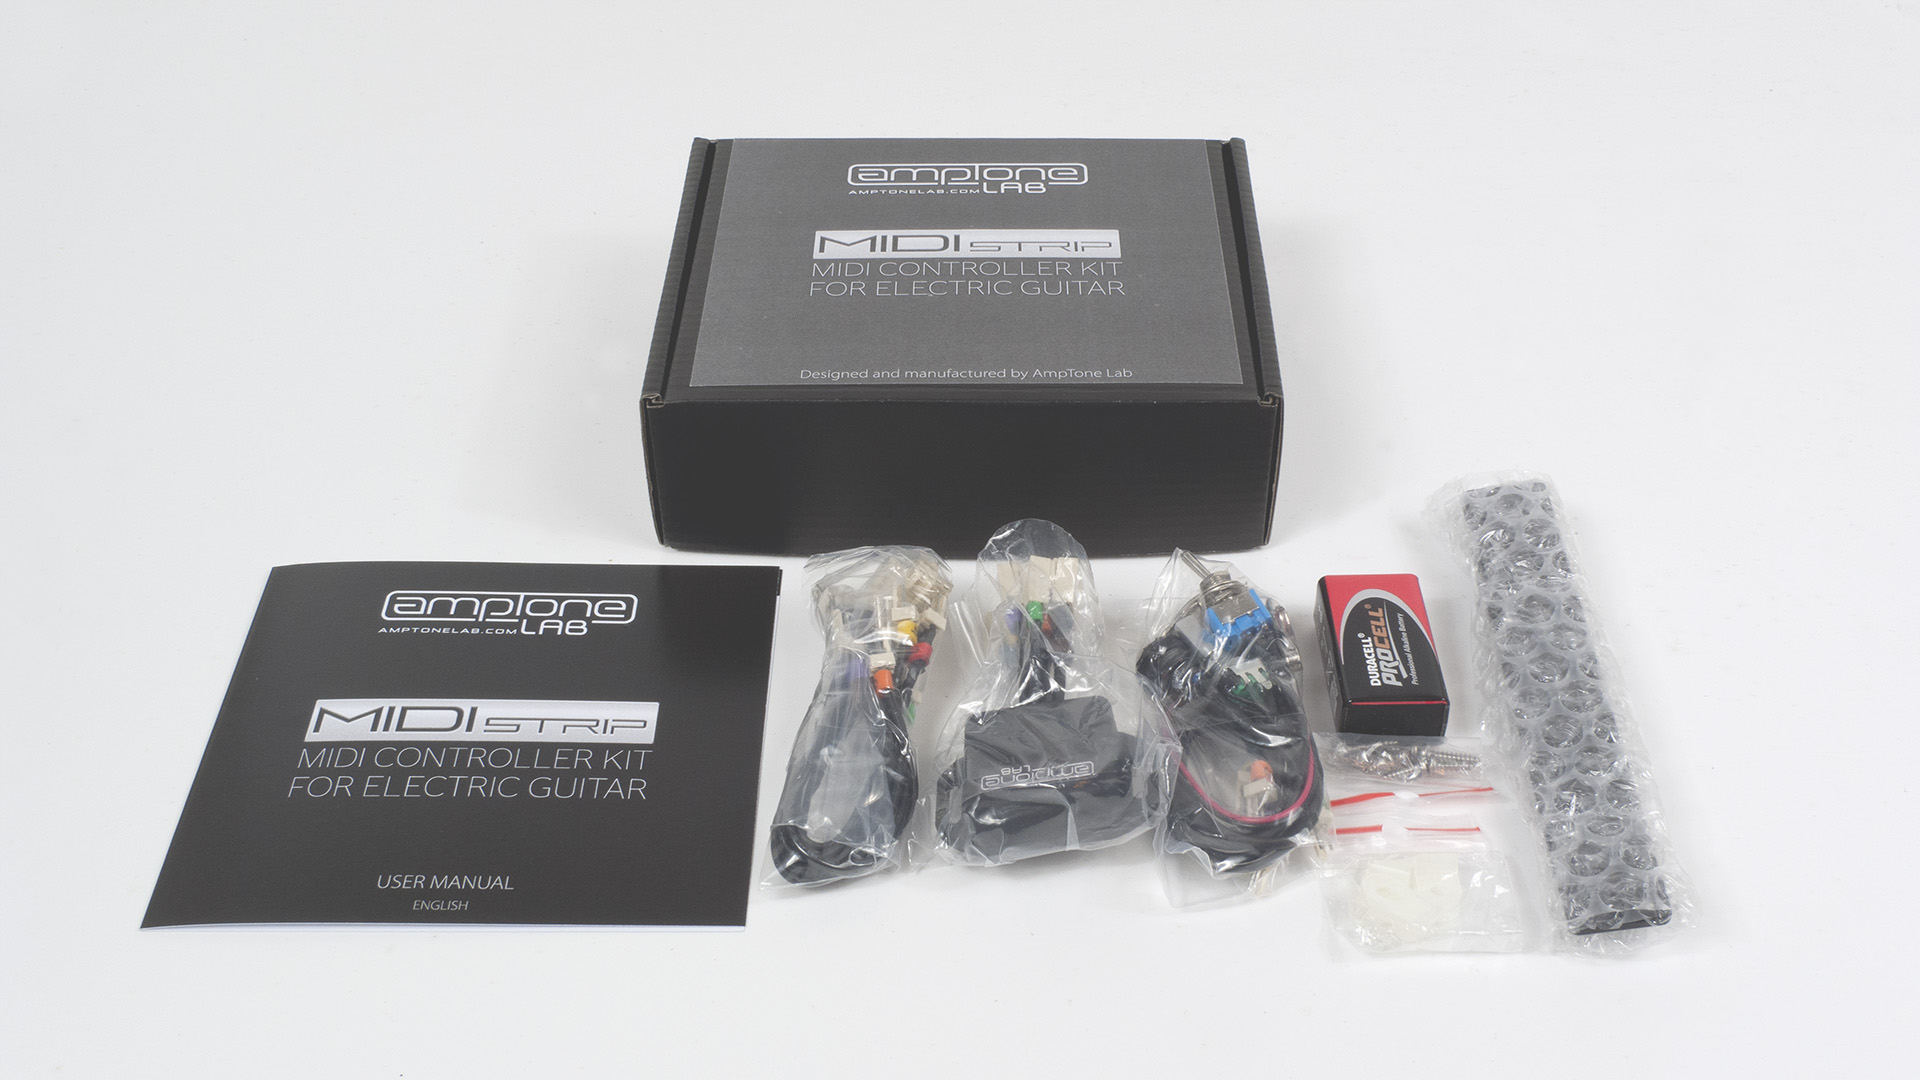
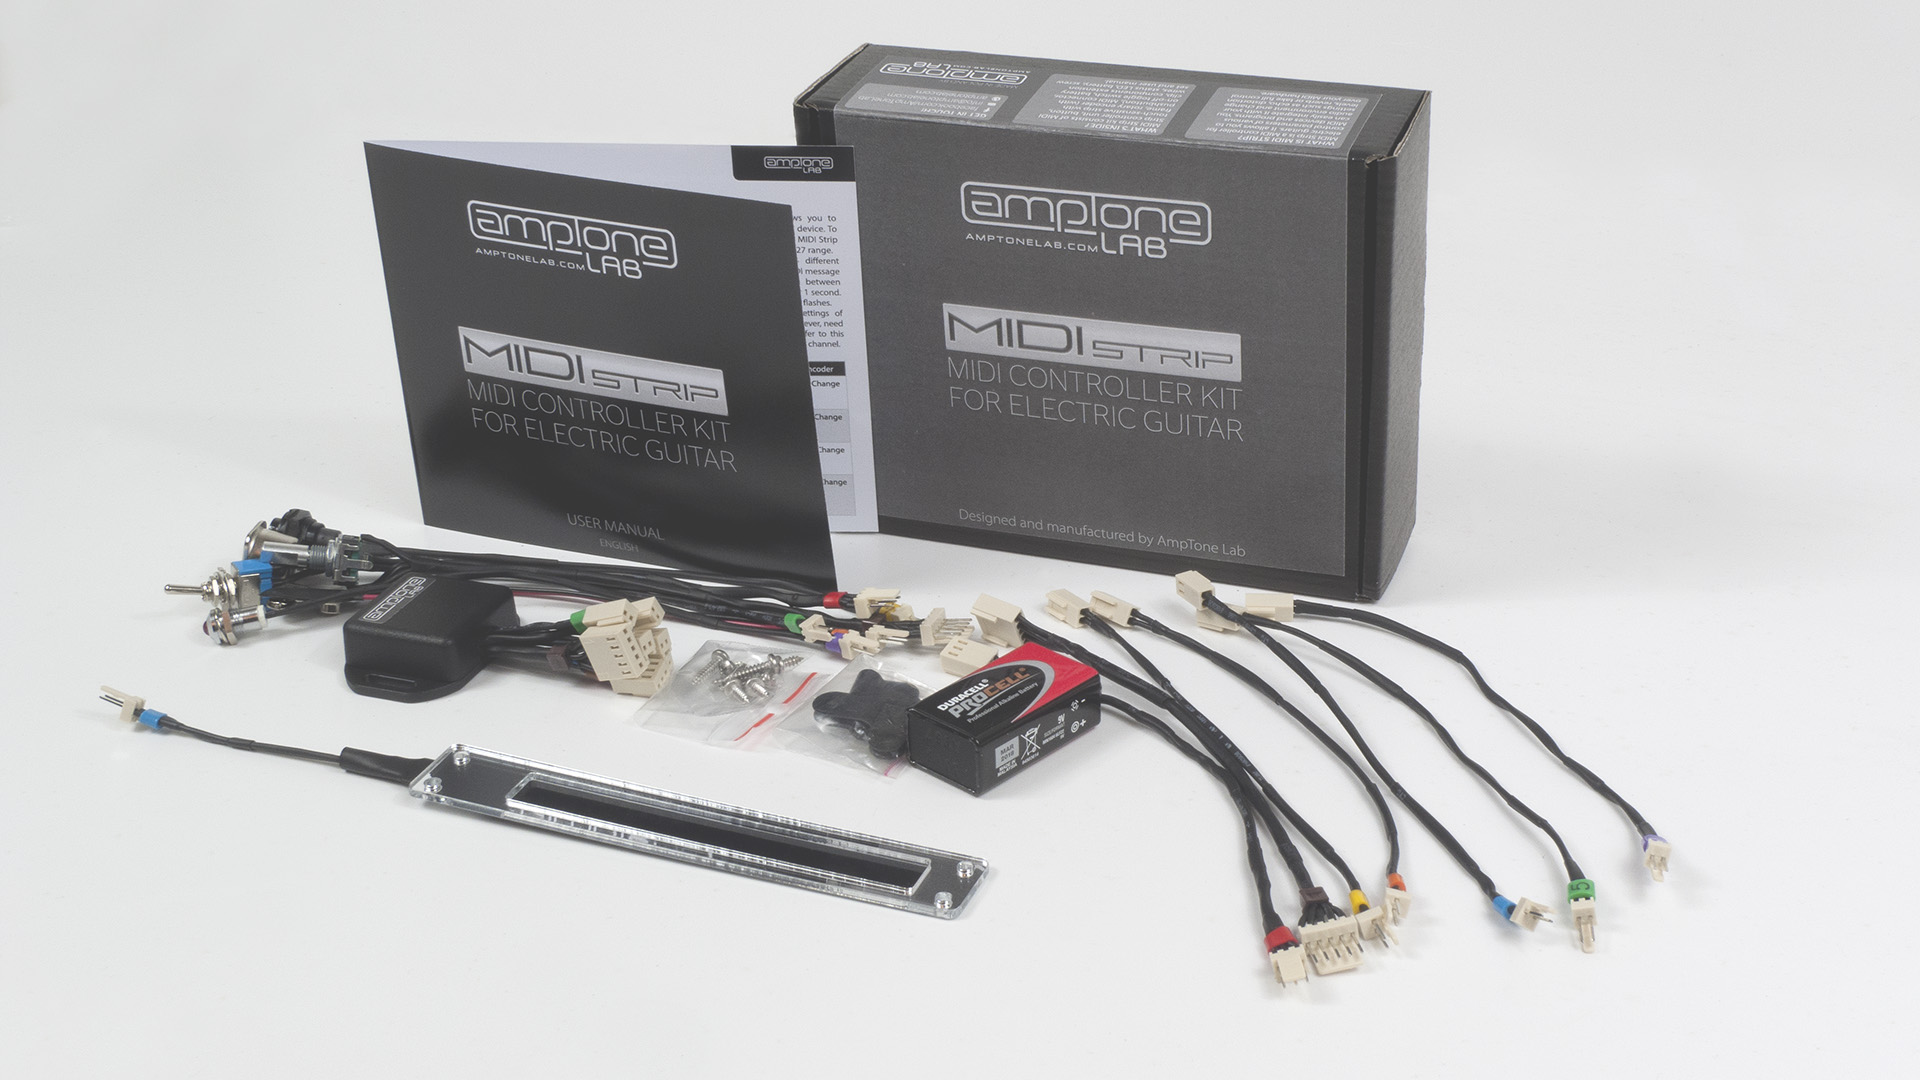
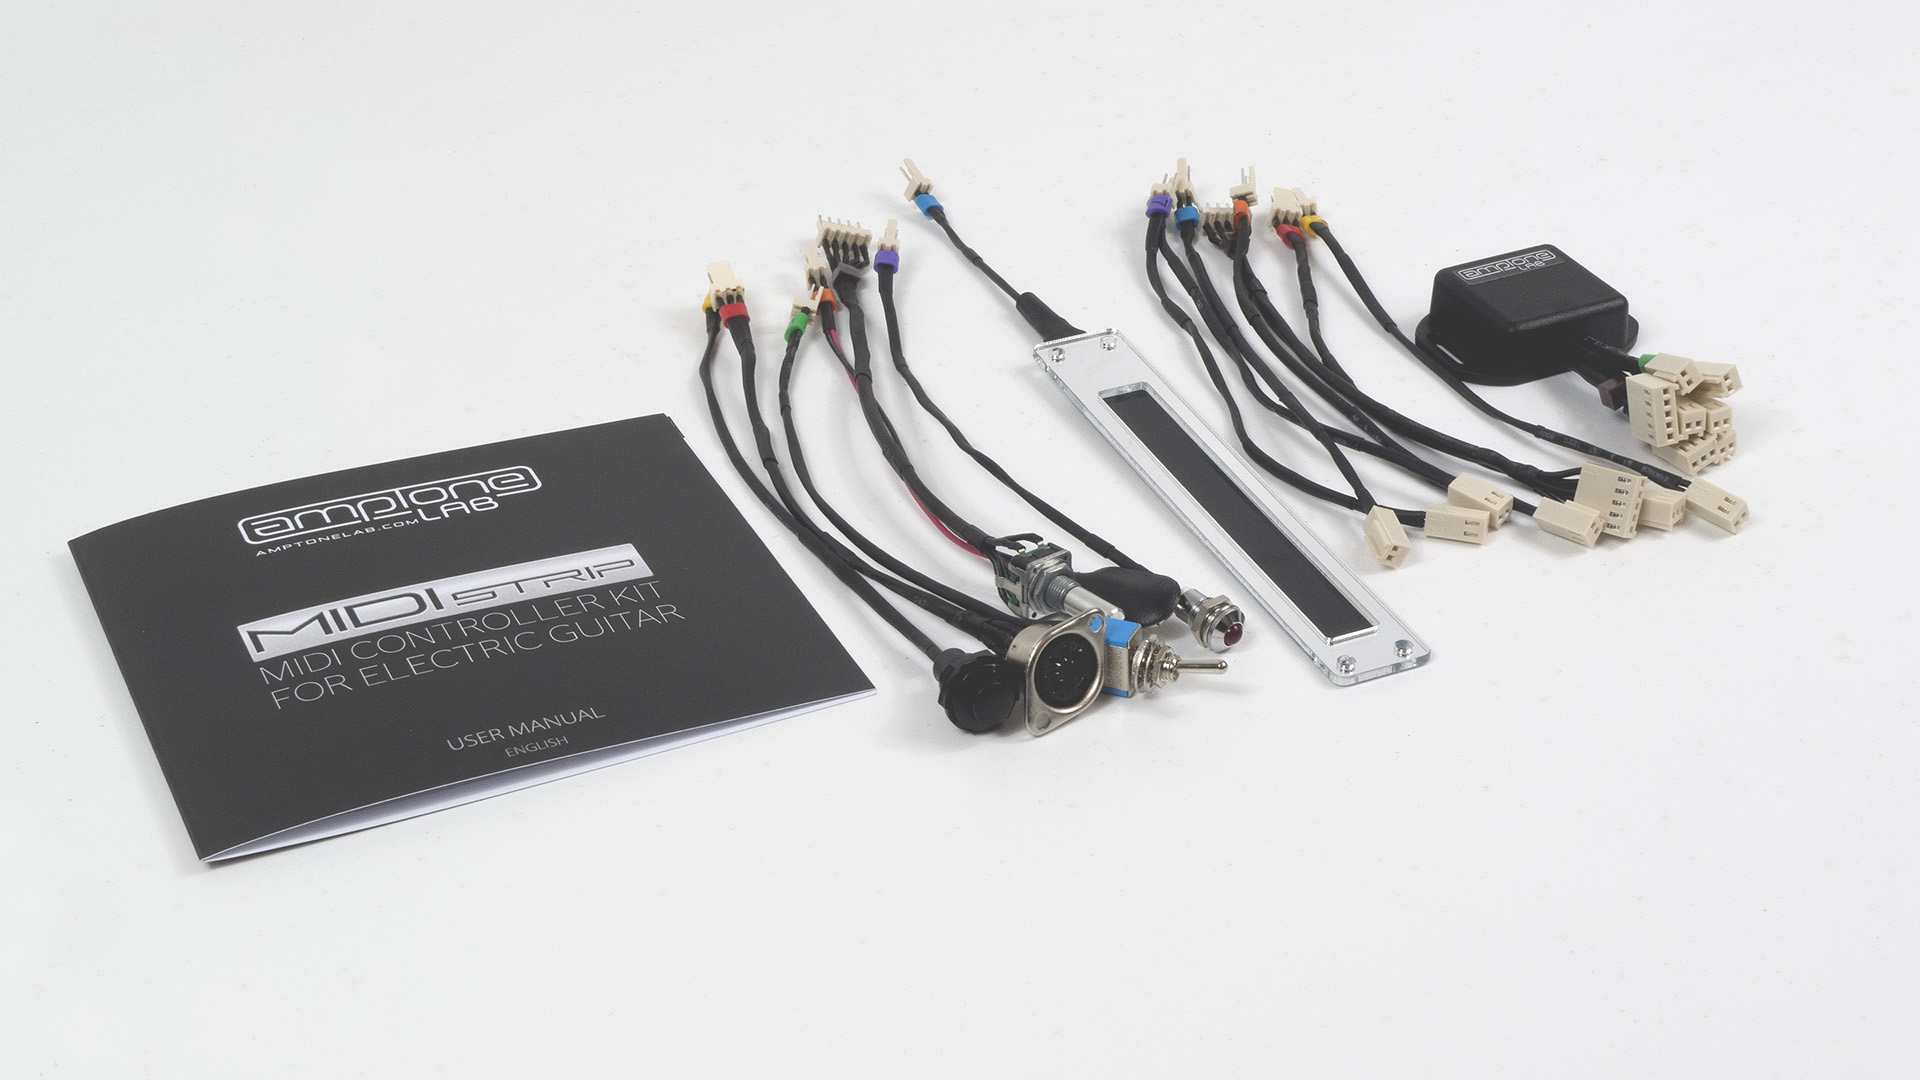
| WHAT’S IN THE BOX? |
|---|
MIDI Strip is an easy to assemble kit. It consists of:
|
MIDI Strip sends MIDI messages to any hardware or software you connect it to. It is compatible with any device or app/plugin which reacts to MIDI Strip message set (see MIDI Messages tab above for more information). Main focus has been put to ensure compatibility with Korg’s Kaoss series and DigiTech’s Whammy pedals (see Tech Spec tab above).
Apart from MIDI CC messages, MIDI Strip also sends Note messages to a synthesizer or a drum machine. That way user can not only control parameters of external hardware or software, but also play on a synthesizer and a drum machine/sampler.
What to use it with?
Our main focus has been directed towards ensuring full compatibility with Korg’s Kaoss Pad/Kaossilator devices, DigiTech’s Whammy pedals and MIDI instruments (including drums). Please see the full compatibility list in Tech Spec tab above.
You can have MIDI Strip connected to many devices simultaneously. To do so, you will need to have your MIDI signal split into 2 or more separate signals. To achieve this, you can use a MIDI thru-box, such as our reliable MIDI Splitter.
How to use it?
After installing MIDI Strip in your guitar, you only need to plug it to your MIDI device using a MIDI cable and that’s it! You can start controlling your MIDI hardware and software directly from your guitar.
Dimensions
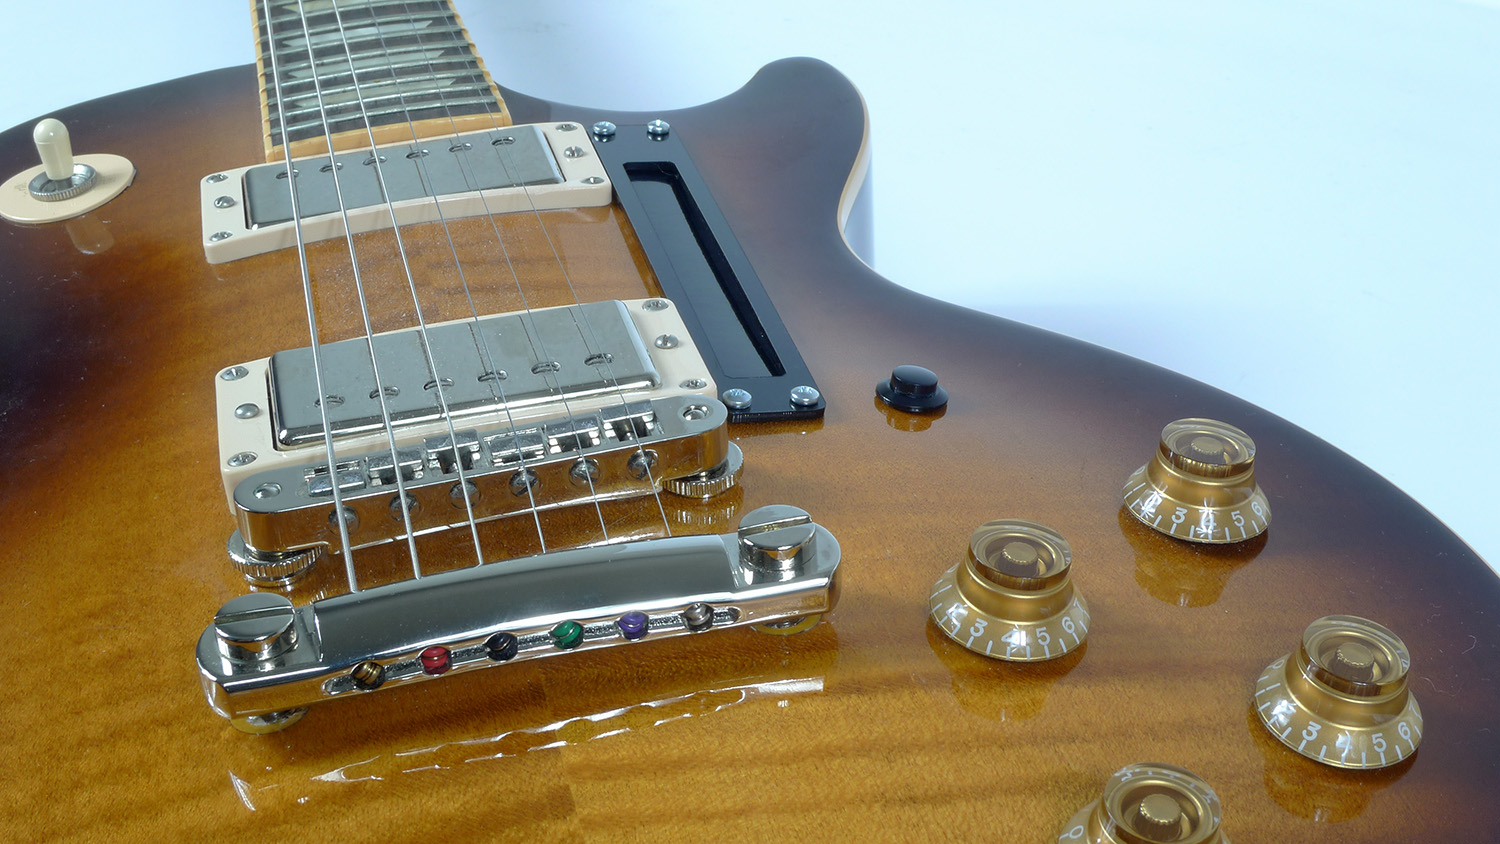
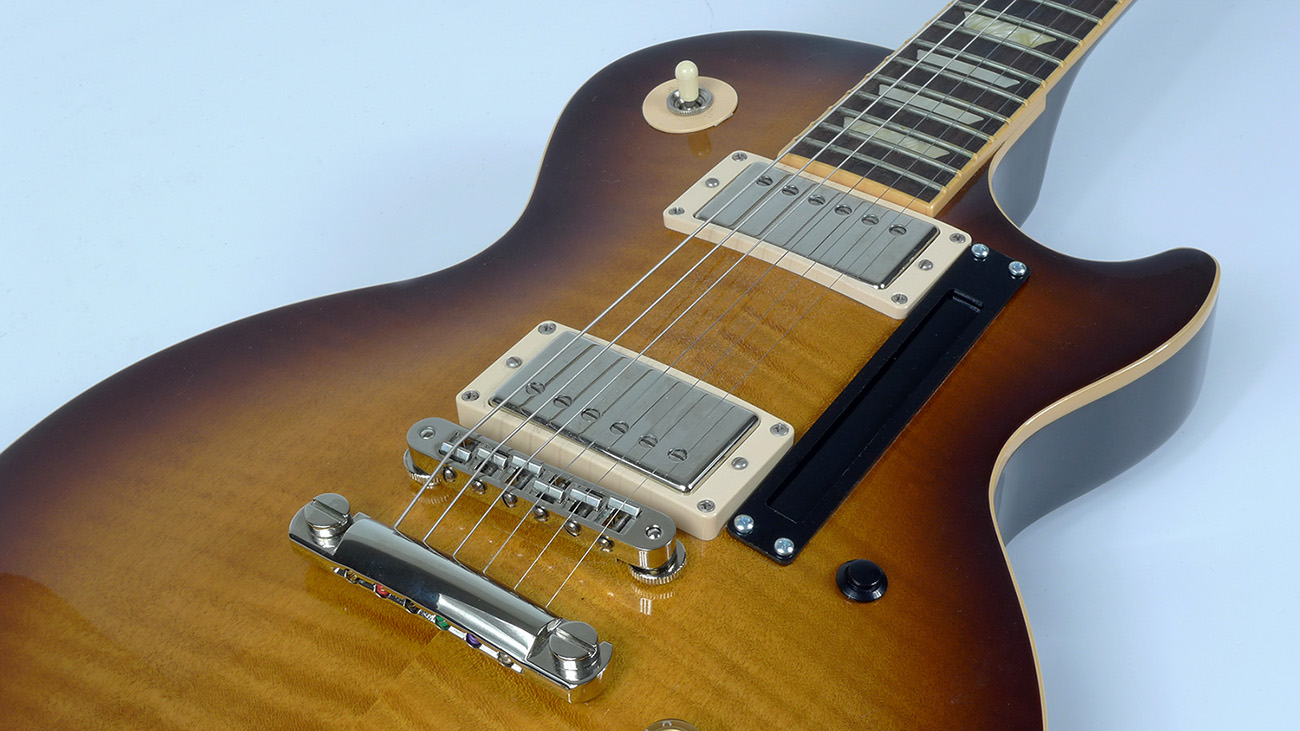
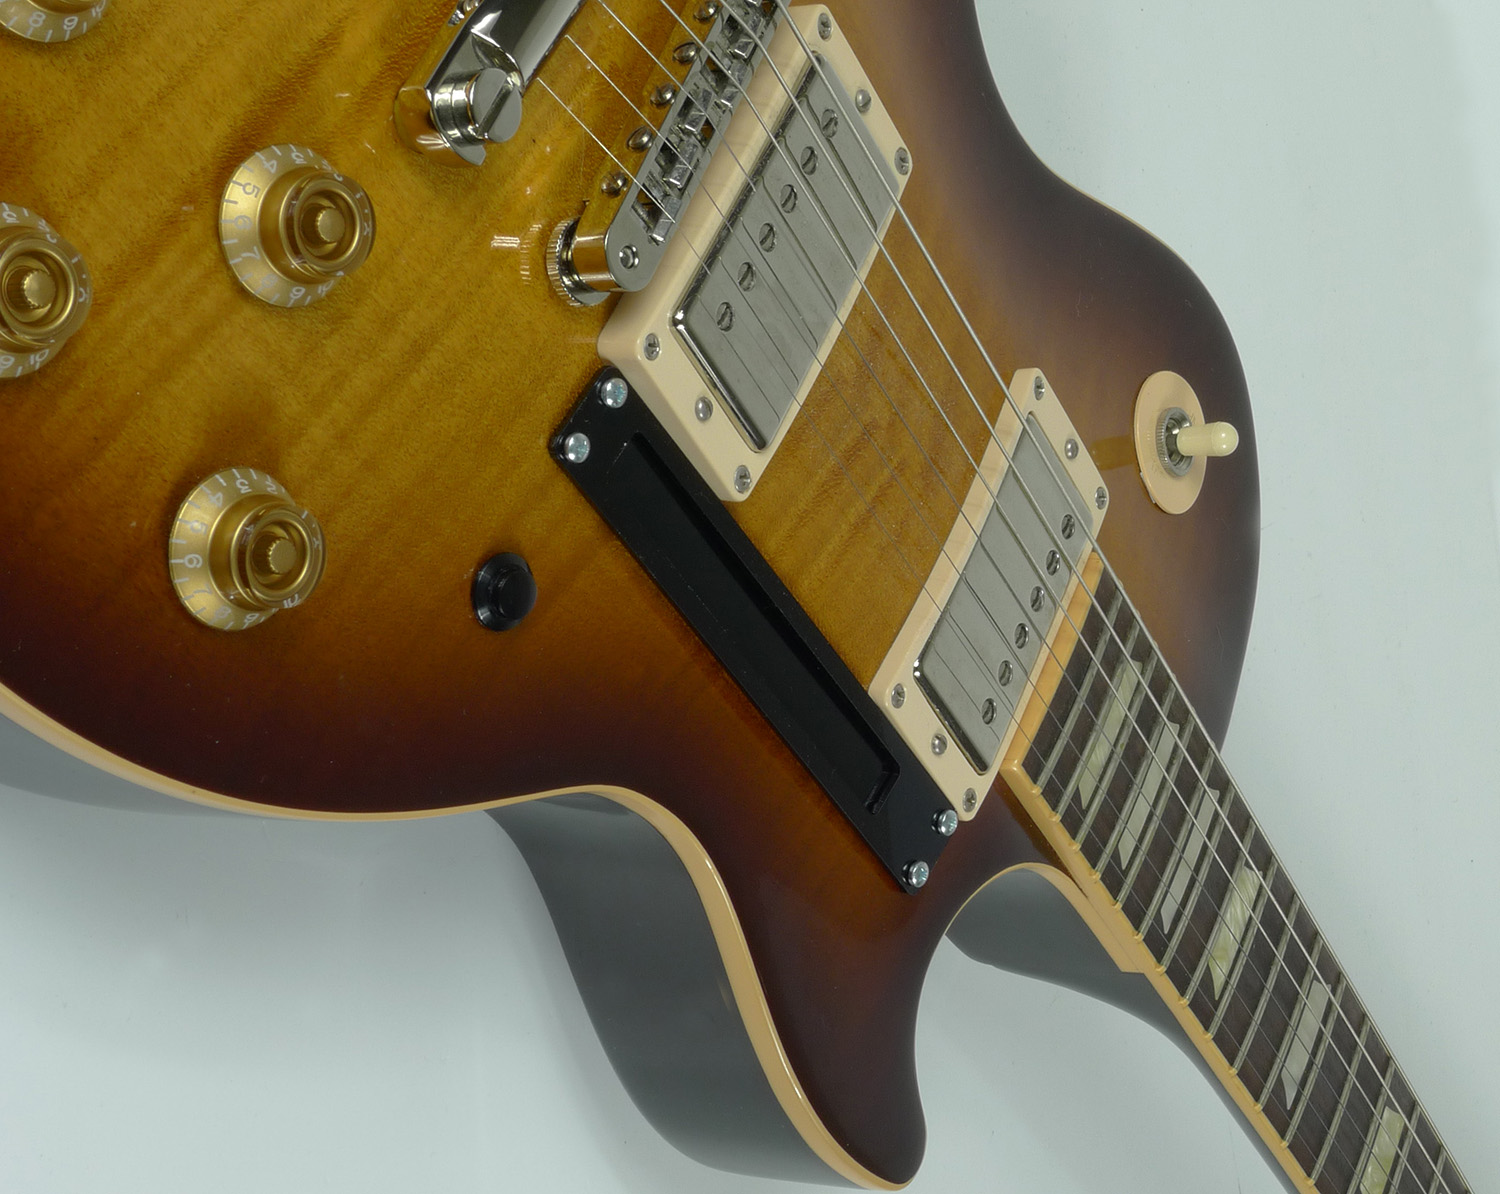
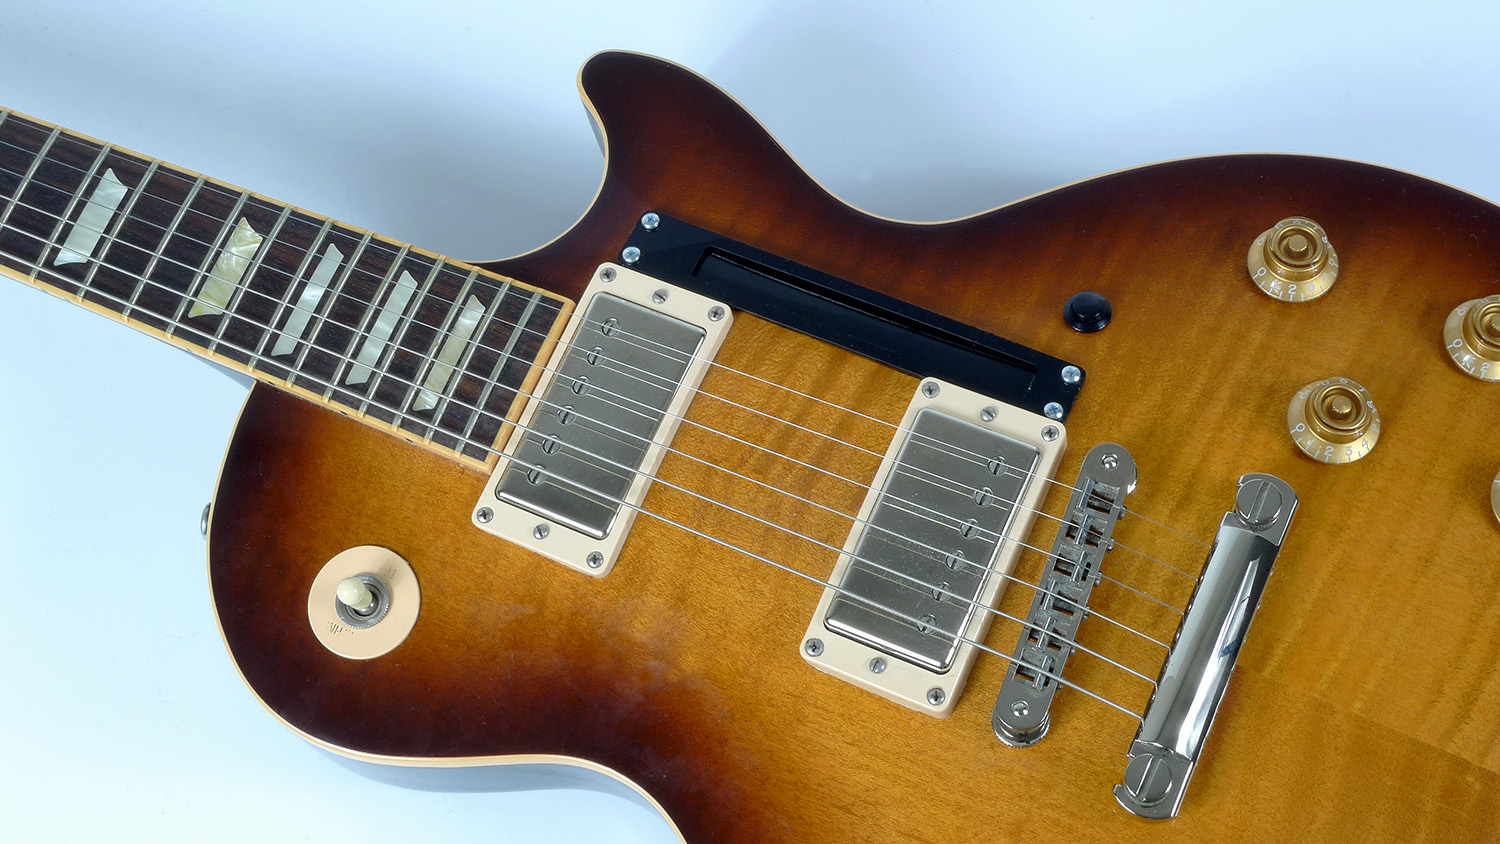
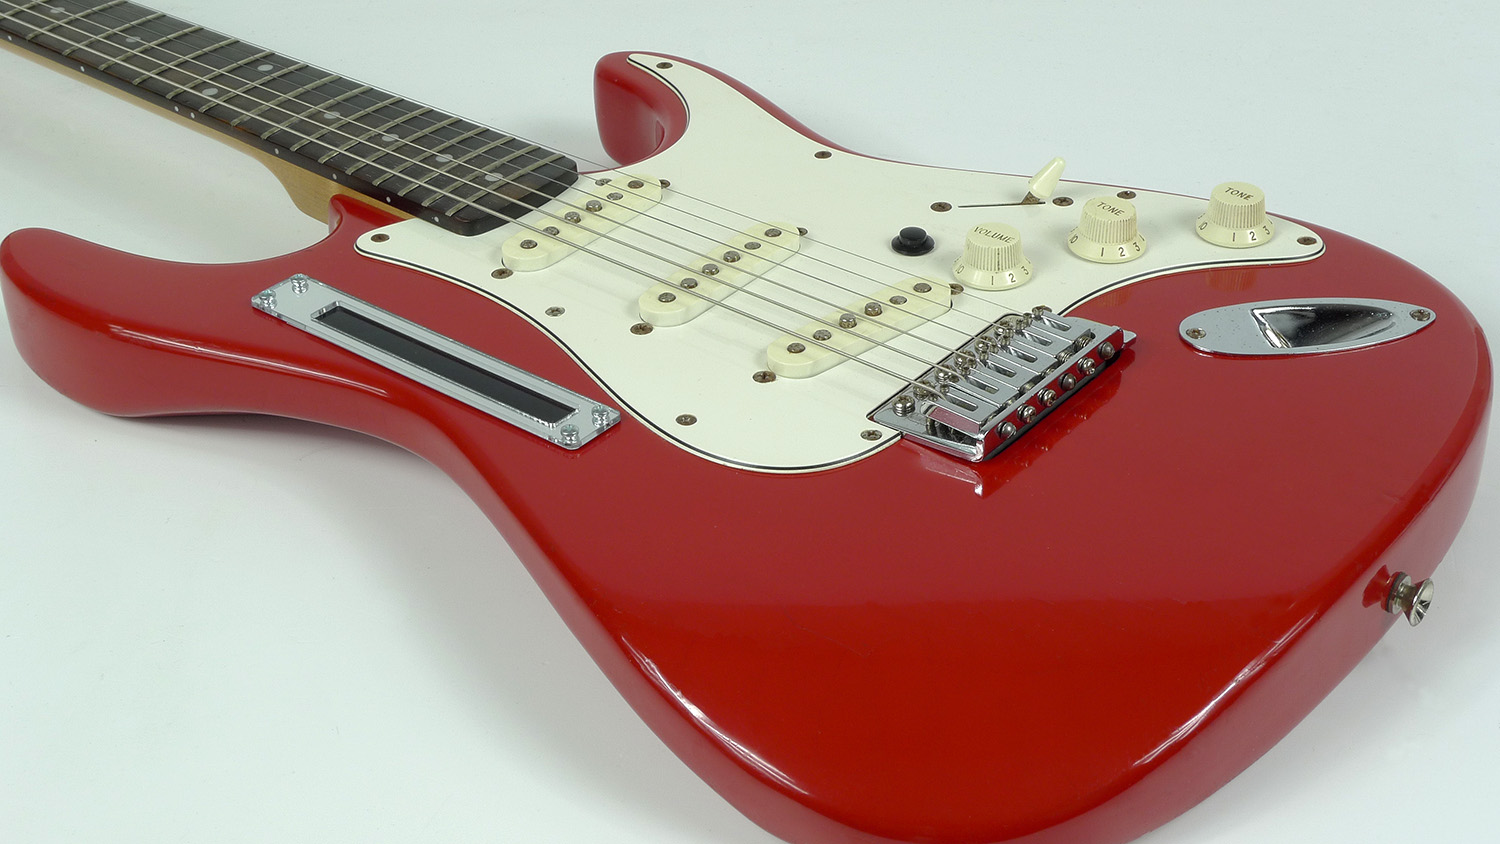
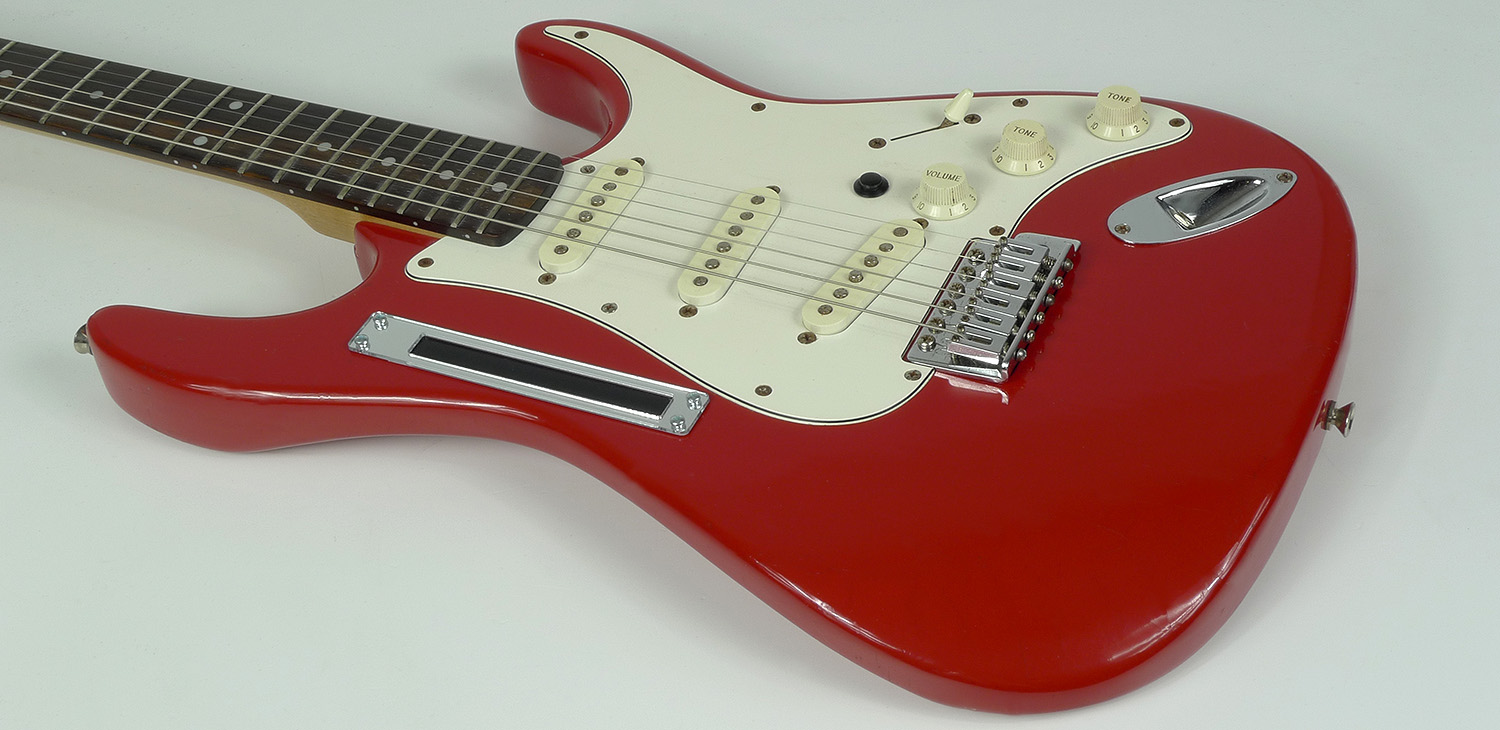
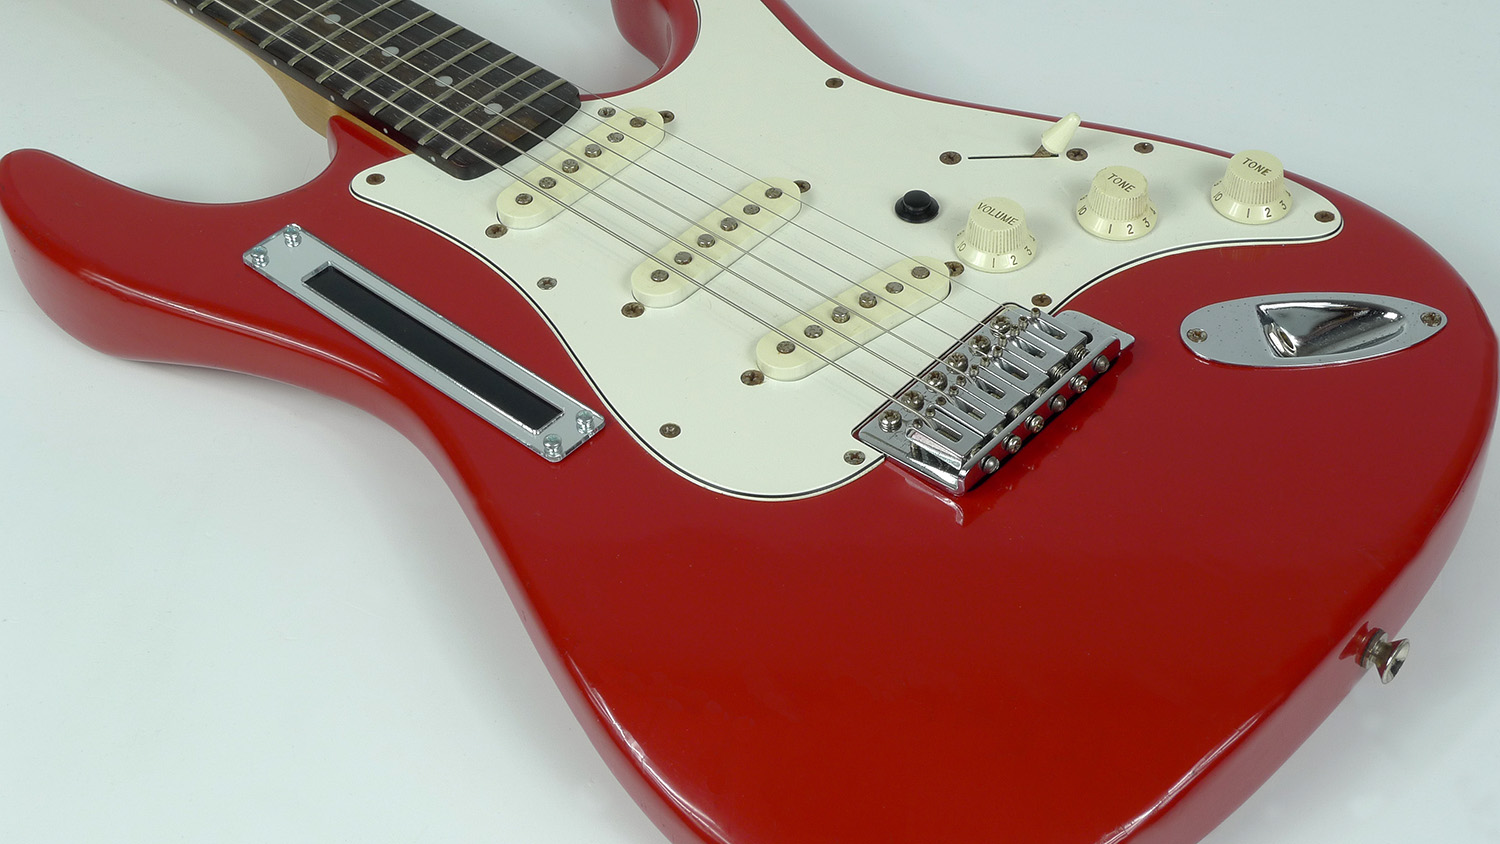
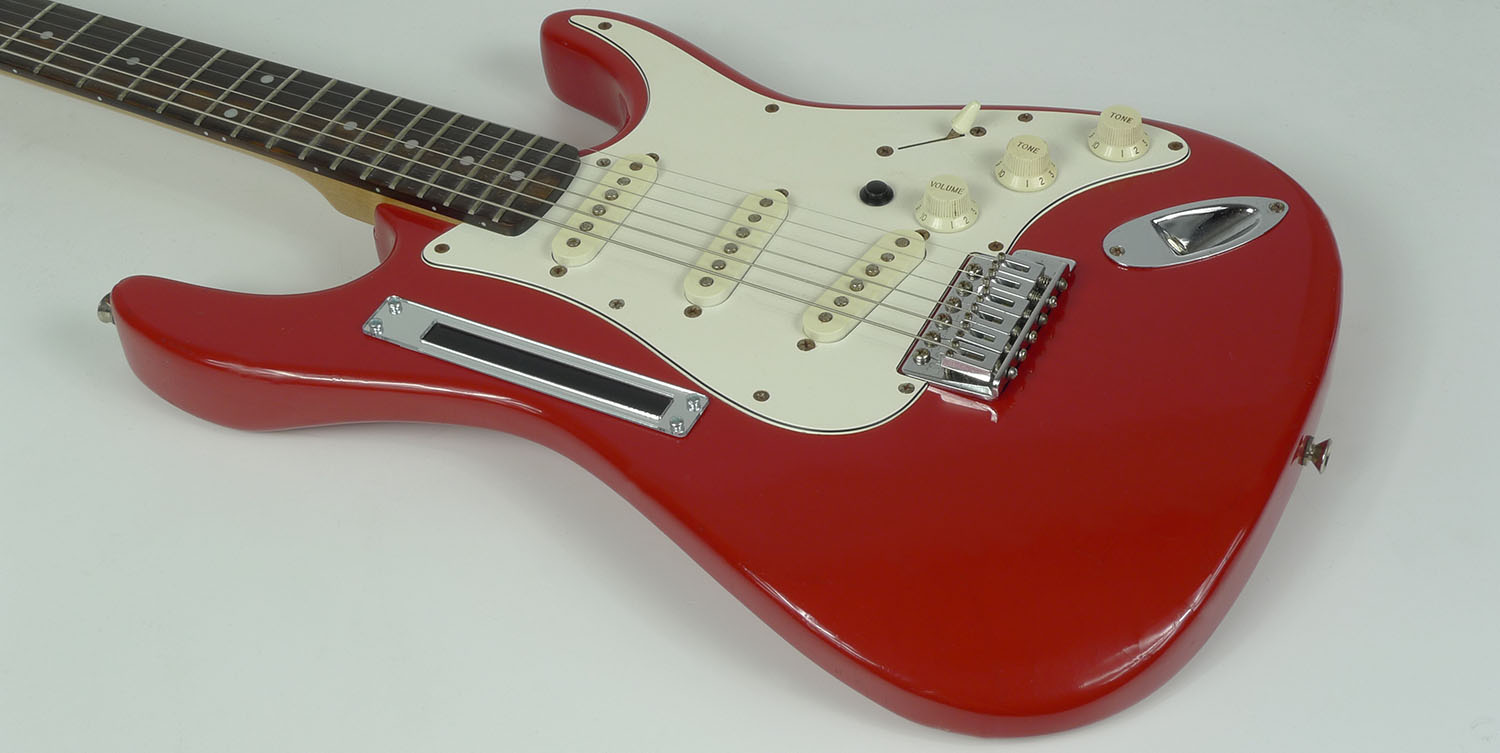
MIDI Strip takes up approximately 145 x 23 mm on your guitar body. The controller unit should be mounted directly beneath the touch strip, so it is necessary for your guitar to have enough space for it – the guitar body should be at least 22 mm thick.
Guitar body top
It is highly recommended to install MIDI Strip on a flat-top guitar body. Installing it on a surface that is not perfectly flat is possible, but it will require additional woodworking. It is not recommended to bend the touch strip and the frame.
MIDI Strip installation
Installation tutorial

The best way to understand the MIDI Strip installation process is to watch a video documenting it. Video demonstrating MIDI Strip installation was recorded by Ben Crowe, Master Luthier at Crimson Guitars. You can see the video on the right.
Main cavity
MIDI Strip comes in a form of an easy to assemble kit which needs to be installed inside an electric guitar body. After planning where you are going to place all the components, the best place to start installation is making a cavity at the back of your guitar. This cavity will hold the MIDI Strip controller unit. It should be 16 mm deep and its diameter should be approximately 60 mm. You may prefer to make the rectangular cavity instead – in this case its dimensions should be approximately 60 x 50 mm. This cavity should placed right beneath the place where you want to have your touch strip positioned – directly under one of the strip’s end.
After routing this cavity, you will need to connect it with the touch strip on the guitar top. To do so, drill a 10 mm hole from your guitar body top right to this cavity. After that you can place and mount the touch strip – the touch strip’s wire will go through this hole. The hole itself will be covered by the strip’s frame.
Control cavity
| DISCLAIMER |
|---|
| MIDI Strip should be installed by a professional luthier and guitar repair/custom shops only. It requires having appropriate woodworking tools and being able to use them in a safe manner. AmpTone Lab cannot be held responsible for any damages caused during the installation.
It is strongly recommended NOT to make any modifications to your guitar before receiving your MIDI Strip. |
MIDI Strip comes with additional components, which need to be connected to the controller unit. These components are hold button, on-off toggle switch, battery clip, rotary encoder and MIDI connector.
The aforementioned components can be installed wherever you feel comfortable with having them. The best place for the on-off toggle, rotary encoder and hold button is probably your control cavity where your volume and tone pots are located. As far as MIDI connector goes, the most convenient place for it is right next to your guitar output jack socket. For the battery clip, you may want to make another cavity with easily removable back plate, just to make changing the battery easy.
After mounting these components, all that is left is to join all cavities containing the MIDI Strip kit components together, so they can be connected to the main controller unit.
Additional information
All additional information can be found in MIDI Strip User Manual.
If you have any doubts regarding the installation process, please refer to the installation video available above. Please feel free to Contact us with any questions you have regarding MIDI Strip.
MIDI Strip specification
| Power source | 9V battery (included) |
| Battery life | up to 65 hours (with LED disconnected) |
| Controls |
|
| Compatible with |
|
| Included items |
|
MIDI Strip transmitted MIDI messages
| Mode | Devices | MIDI channel | Touch strip | Touch event | Rotary encoder |
| 1 |
|
1 | MIDI CC12 (0-127) MIDI CC13 (0-127) |
MIDI CC92 (0; 127) |
Program Change (0-127) |
| 2 |
|
2 | MIDI CC10 (0-127) MIDI CC11 (0-127) |
MIDI CC0 (0; 127) |
Program Change (0-127) |
| 3 |
|
3 |
Notes velocity: 100 |
MIDI CC14 (0; 127) |
Program Change (0-127) |
| 4 |
|
10 |
Notes velocity: 100 |
MIDI CC15 (0; 127) |
Program Change (0-127) |

MIDI Strip installation
Author: Crimson Guitars